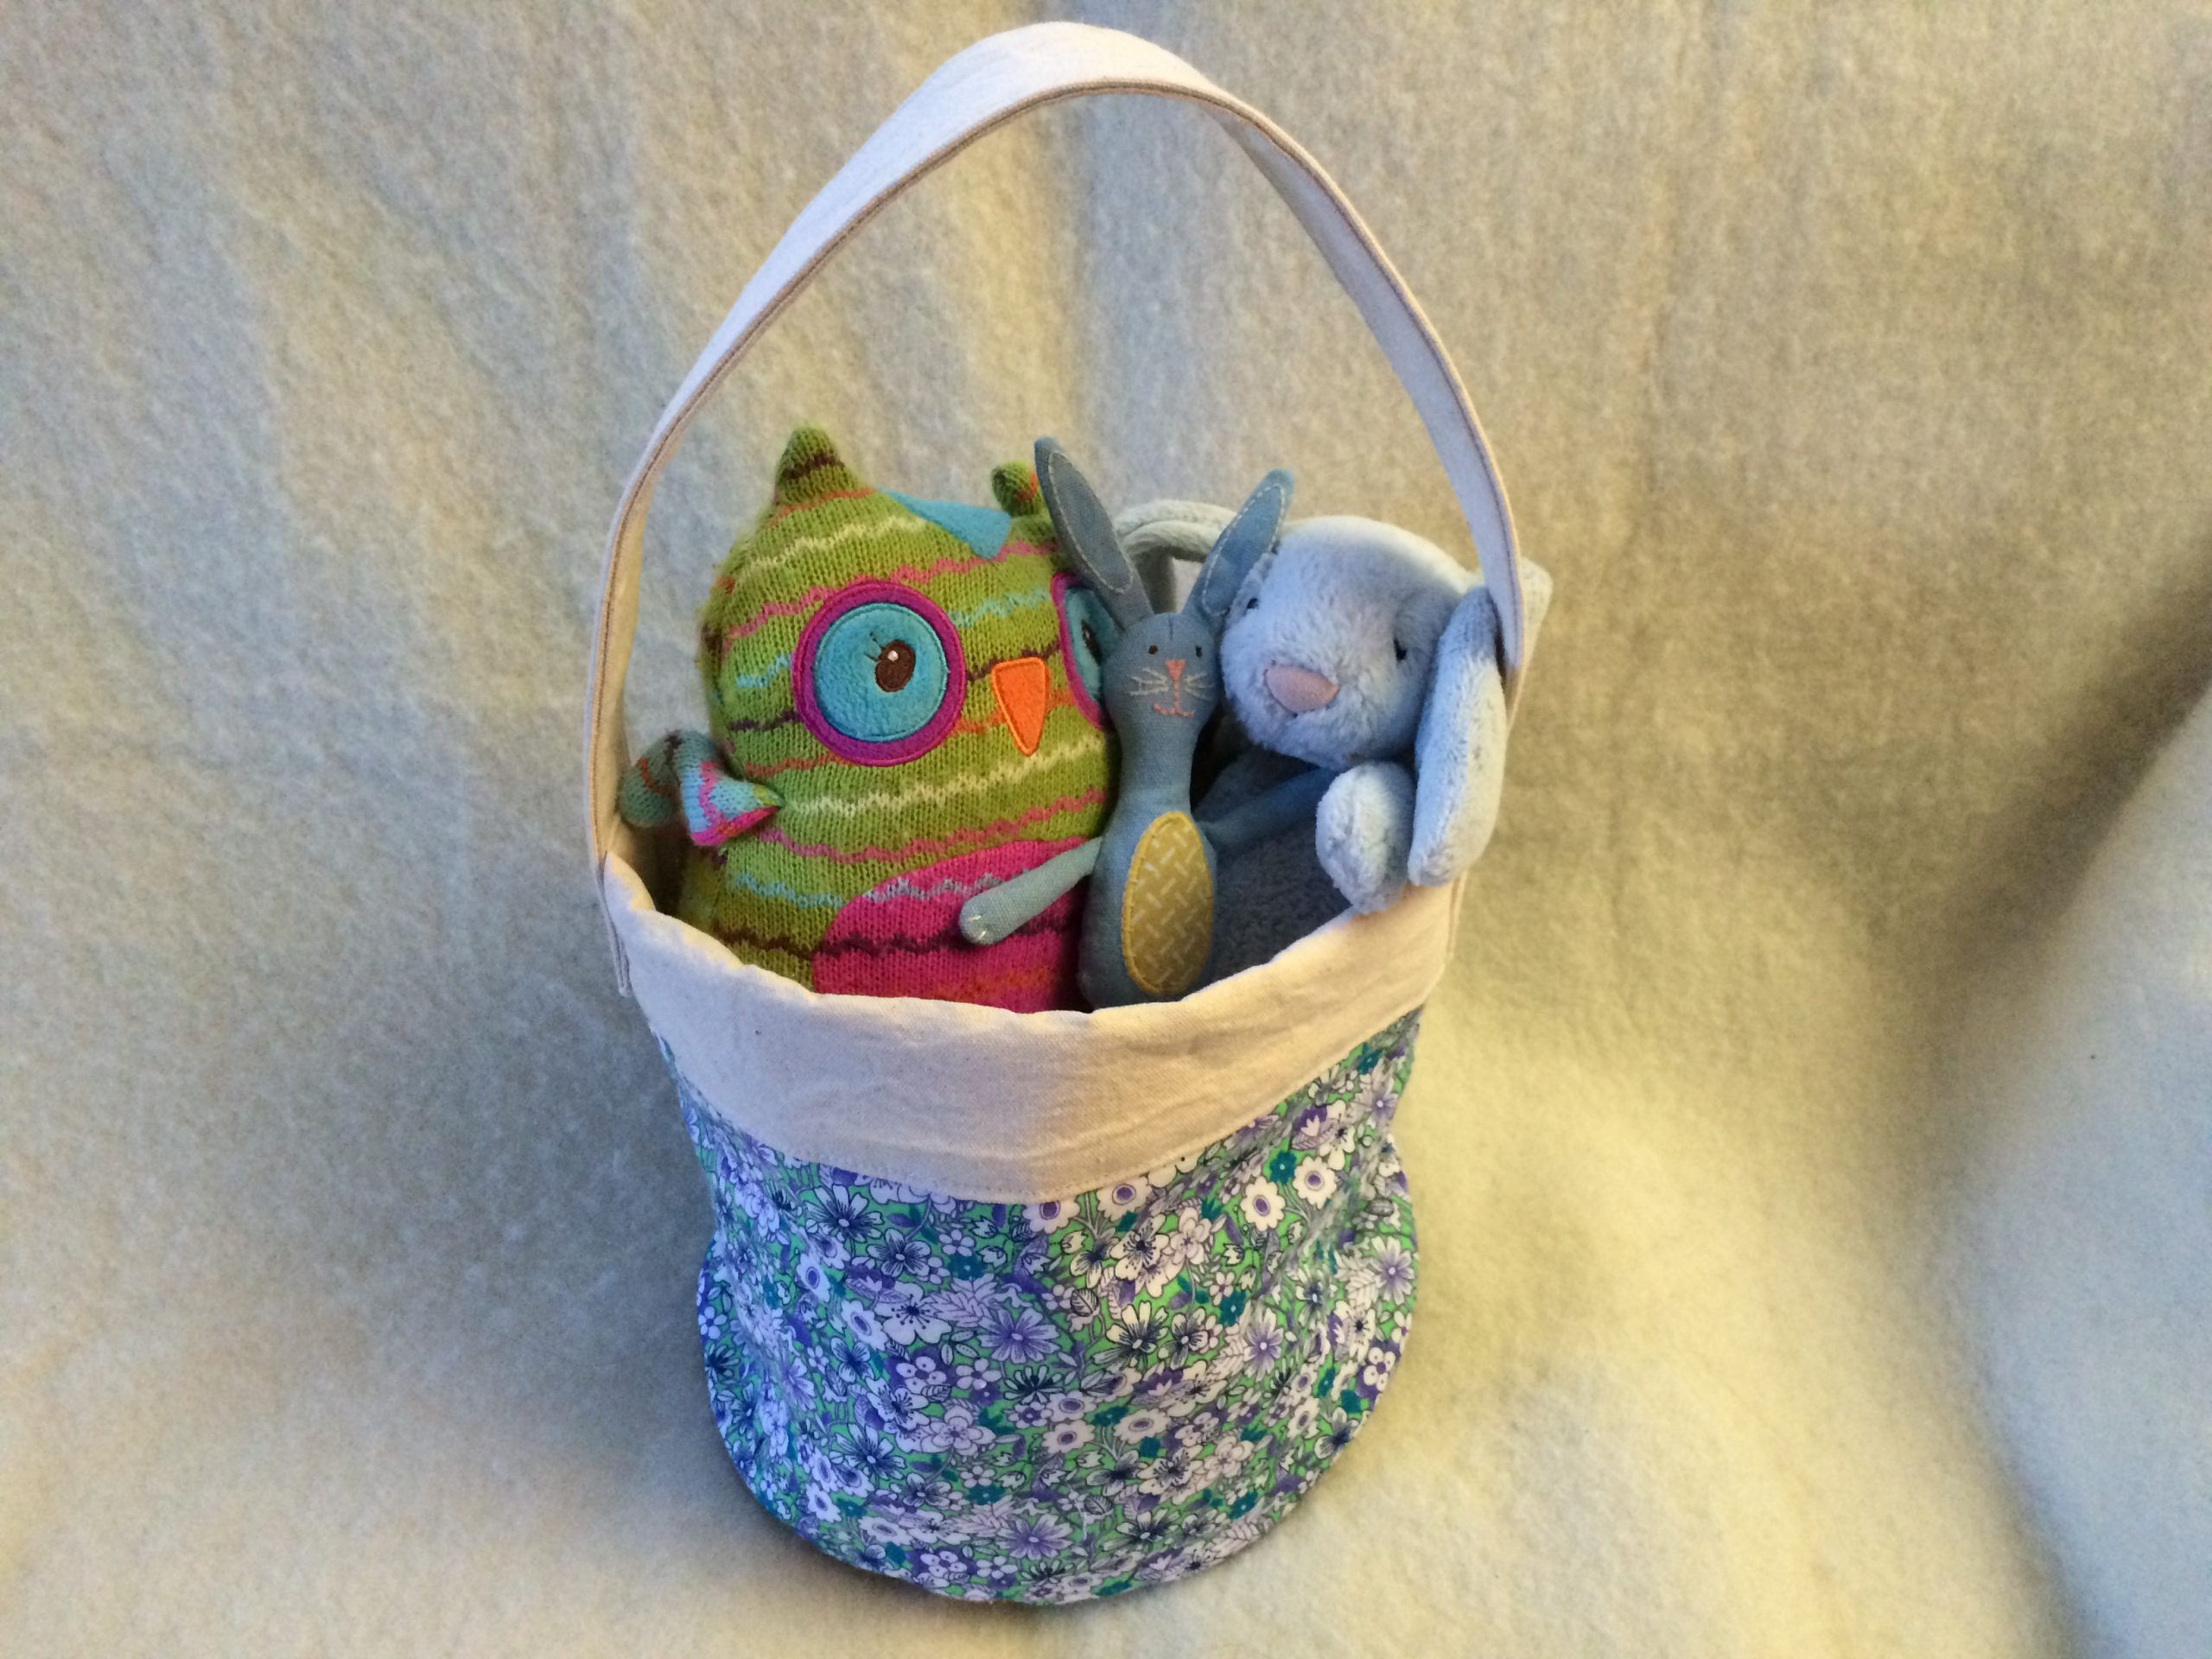
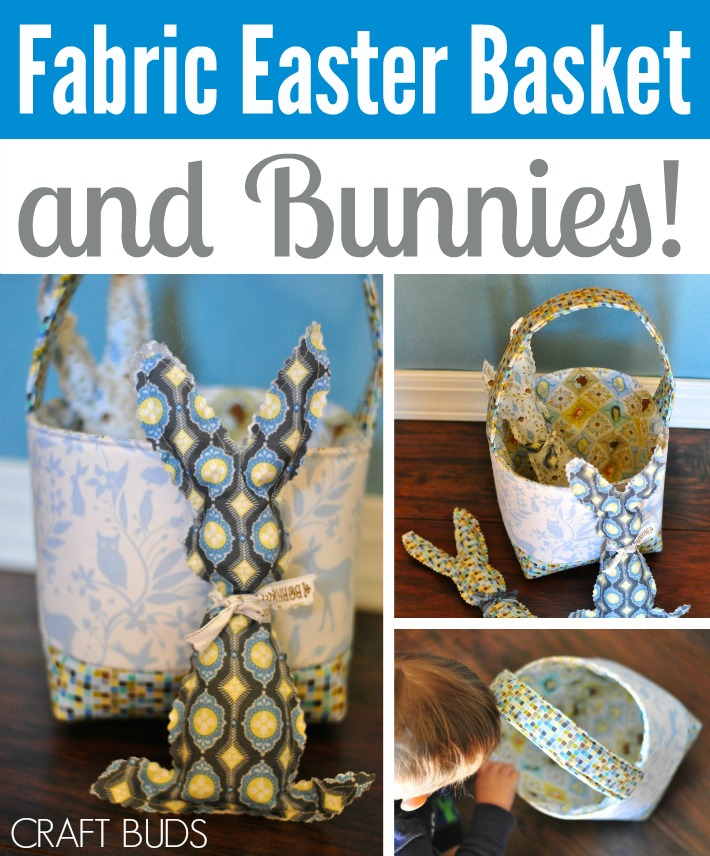
I recently got to play with a bundle of Born Wild fabric, designed by Ana Davis for Blend Fabrics. It’s so cute and reminded me of Easter and springtime! So I decided to sew an Easter basket for my son.
I looked all around Pinterest for a pattern to sew, and then I remembered the 1-Hour Basket sewing pattern from Hearts & Bees. Kelly had shared a modification to the measurements that she used to make her son an Easter basket, so I went back and found it
- To make a basket like this, download the free 1-Hour Basket Sewing Pattern here.
- Instead of using the cutting measurements included, change the dimensions to 10.5″ x 13.5″ (per Kelly). Instead of cutting two handles, cut one long handle 18.5″ long.
- I pieced two different fabrics for my outer basket. Cut two pieces 6″ tall x 13.5″ wide and sew them together along the 13.5″ side. Then, trim to 10.5″ x 13.5″, just like your other pieces and interfacing.
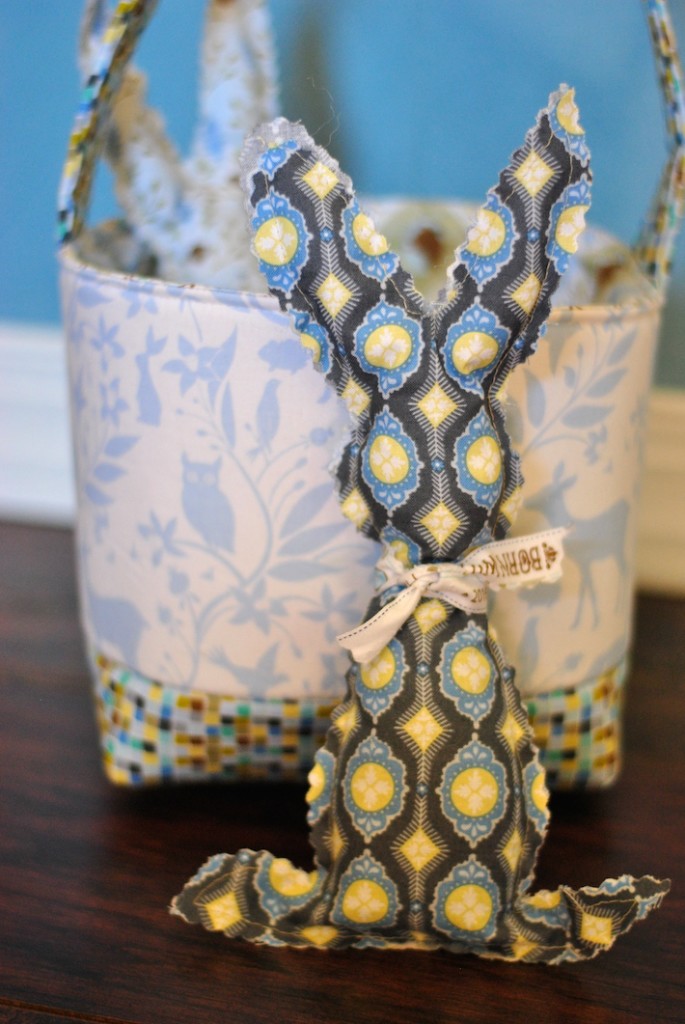
Sorry buddy… No candy yet!
This is the third or so of these baskets I’ve made, and I love to use Pellon Flex Foam 1-Side Fusible (affiliate link) for the interfacing! It makes the basket really sturdy. I even used it for the handle!
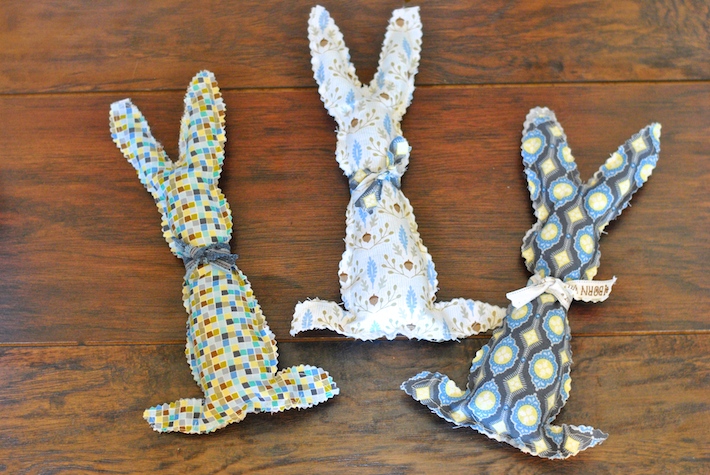
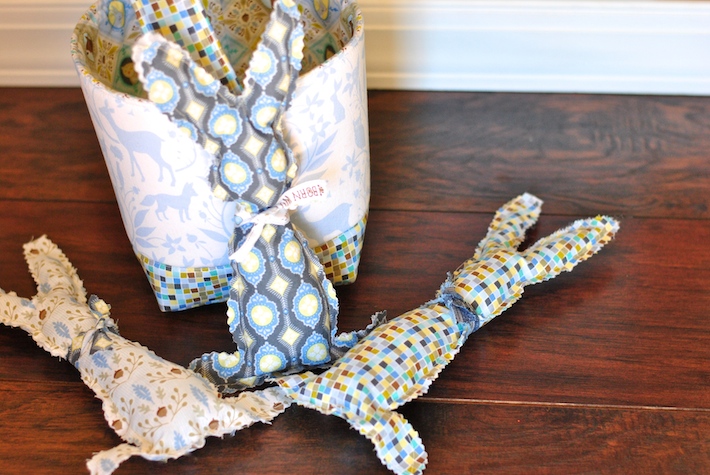
Since we don’t have any candy around here, I made a few little DIY Easter Bunnies with this tutorial from Anders Ruff. I used leftover selvage pieces for their neckties!
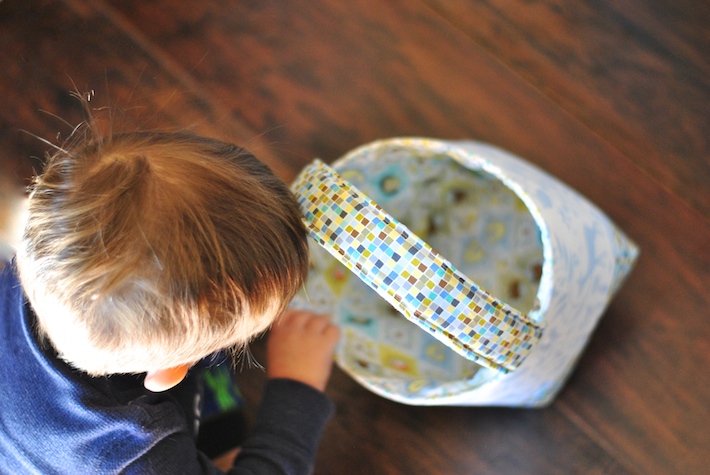
I hope this fabric Easter basket becomes well loved!


4 comments
I love this! I may need to make one for jones.
Baskets look so cute. I like those bunnies too, would like to make a bunch to fill a basket….the link to those bunnies does not work, darn…
Adorable!
Oh that is just adorable! And that basket could easily be used for something else after Easter!