Many sewers face a prevalent problem in organizing their fabric scraps, as there are so many ways to store them. There are countless ways to organize your stash of fabrics, whether by color, type of fabric, or use for a project. It will all depend on what you have and what is practical for the area they will be stored in. Here are some ideas on how you can go about organizing your fabric scraps:
For some ideas on what to make with fabric scraps, make sure to check What to Do With Fabric Scraps – 7 Easy Sewing Projects
Table of Contents
1. Folded Fabric Slice Organizer
If you’re looking for an easy way to keep the most used fabrics readily accessible, fold them into a thin rectangle and then roll them up from end to end with a rubber band around each one (this way, you avoid creases). Label each roll so you know which is which. Keep the most used rolls closer to the front of your storage space for easy access.
2. Plastic Bottle Organizer Cutting Mats
If you have one, cut up a large plastic bottle and store your fabric scraps in it now! This way, you can put scraps into individual plastic bottles that are then stored on their side, with all the scrap pieces visible through the top at any time. No more digging through bins for that piece of fabric you know is in there somewhere -you can see them easily with this method!
3. Fabric Stock Cubes or Roll-up Bins
This method works best if organized by color or type of fabric used. These cubes are great for storing fabric. They roll up your fabric to keep it wrinkle-free and neat, ready for use even when pressed for time.
Here below is one of my tutorials using fabric scraps to make different style hairbands
4. Drawer Organizers
Choose the drawer closest to your sewing machine or work area, then deal with that drawer first. You can choose from different organizers depending on what you have in storage at home.
If you are looking for an affordable option, consider using shoe boxes as stackable drawers, making it easy to move around if necessary! The other option is multi-compartment dividers which are best if they are expandable. You can adjust them to fit the width and length of your drawer and easily separate different types of fabrics by putting dividers in them.
5. Fabric Boxes
This is a widespread way of storing fabrics and one that I regularly recommend to my friends for optimum results. They’re a bit more expensive but can be bought in ‘kits’ with the fabric box, lid, and a pack of wood wool (fiber stuffing).
It’s essential not to use polyester fibers as they have been known to strip the dye from dark-colored fabrics for an extended time when put next to them. The proper stuffing allows air to circulate, so your delicates don’t spoil -perfect for all sewing projects!
6. Drawer Organizer Trays
These are great if you want easy access, can be moved around, and allow you to see your fabric stack. It is suitable for easy access into the drawer, but it might also be possible to create piles of fabrics rather than organizing them by color or type if this works better for you!
7. Fabric Cutter Pouches
These are great for storing smaller bits of fabric, like small pieces from old projects or any leftover piece, no matter how small or unusable they may seem. They’re very easy to carry around, making them even more practical, especially if you’re always on the go with your sewing projects!
Here is my version of the task
In honor of the upcoming Scrappy Stash Quilt Along at Ellison Lane Quilts, I organized my fabric scraps by color. Sorting fabric into piles may seem simple enough, but if your current fabric scrap bins look like this, you may be a bit overwhelmed!
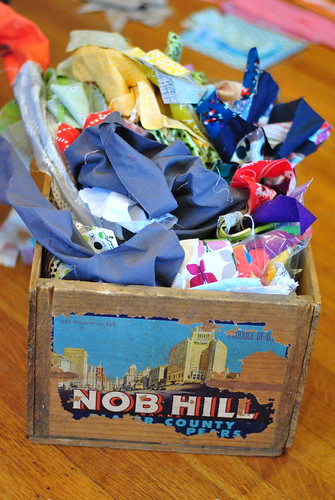
Although I love this vintage box, it sometimes runs over with fabric scraps to the point that I no longer want to use them. But once sorted, scraps are much more fun to sew with! I used some tricks to get my fabric scraps from a total mess to a pretty, well-sorted bin.
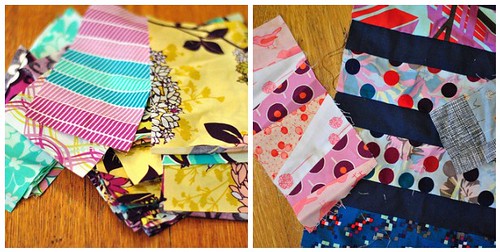
Left: Scraps that are part of a collection can stay together. I toss them aside for now.
Right: Patchwork scraps that have already been pieced (if you think you might use them again) can go in their pile.
Left: Long strips of fabric can go in another pile, regardless of color. I like to keep these together for making a quick patchwork string block, or you can pull from these to make scrappy log cabin quilt blocks. Right: All of my fabric scraps that are solids, regardless of size, go in their plastic bin. This is because I do a lot of solids-only projects, so I like seeing them all together.
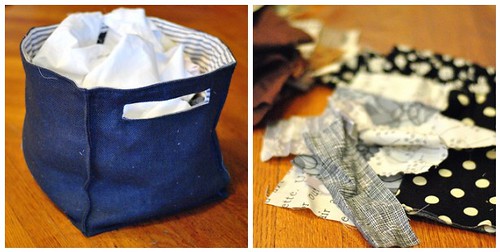
Left: I keep a burlap bin filled with all my white fabric scraps (and off-white or linen).
Right: as you sort, make a separate pile for black or grey fabric and another pile for brown tones. These neutrals are some of my favorite scraps to have on hand!
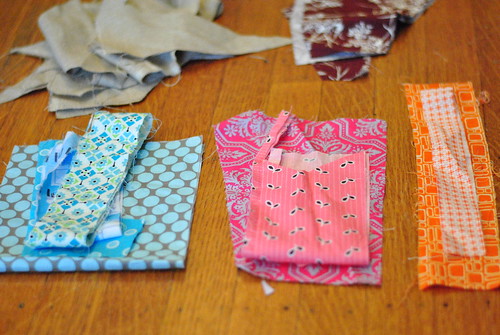
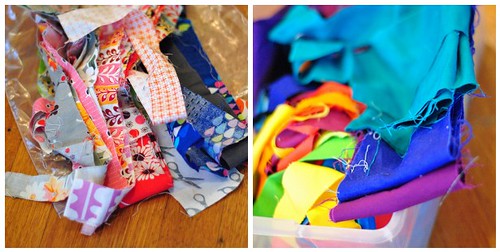
As you go through the rest of your fabric scraps, begin to sort by color groups. Here are my blue, pink, and orange scraps. I am mainly sorting monochromatic prints. Monochromatic means just one color within the fabric (or nearly one color).
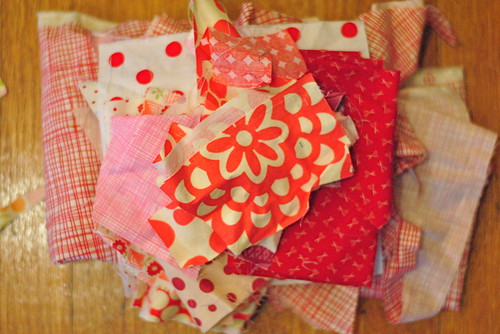
You’ll notice that I eventually intermixed my red and pink scraps. This works just fine for storage purposes, and you can always refine your fabric sorting later.
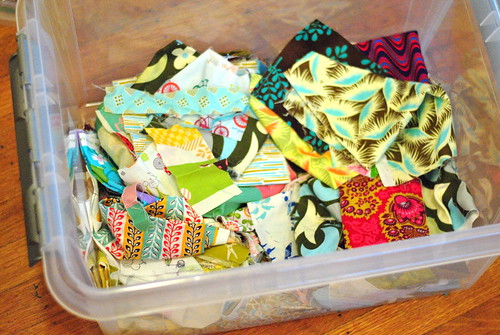
Here are my fabric scraps that read as several colors in each print. Instead of trying to sort these, I’m just going to store them at the bottom of my cool stacking tub I got from The Container Store. I didn’t want to spend any money on fabric storage, but since I might be moving soon, I figured I should simplify my fabric stash and invest in a container that I could store in a closet if needed.
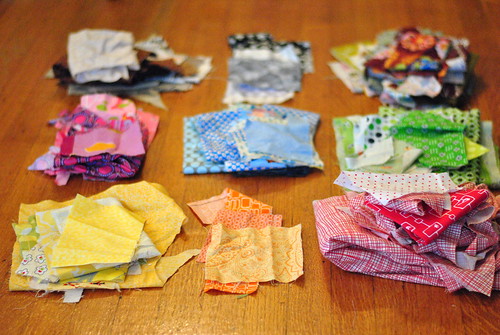
Here you can see that I barely have any orange fabric scraps. This is okay! Also, my “purple” fabric scraps are more pink/Fuschia. Use whichever categories make sense to you.
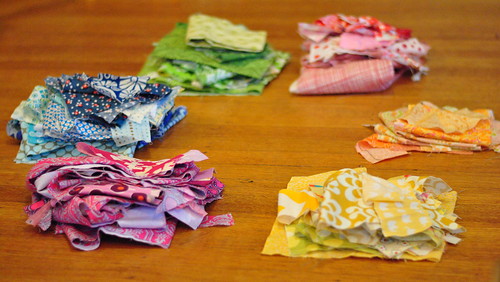
Ta da! Here are my piles of monochromatic prints. I folded them in any way that made sense. If you want to cut your scraps into manageable sizes (like 3″ x 3″ squares), feel free to do that now. Otherwise, you can always cut them later when you’re ready to sew a project.

I used freezer storage bags to store the piles of colored fabric. Press all the air out of the bags before closing so you can store them flat in your storage bin.

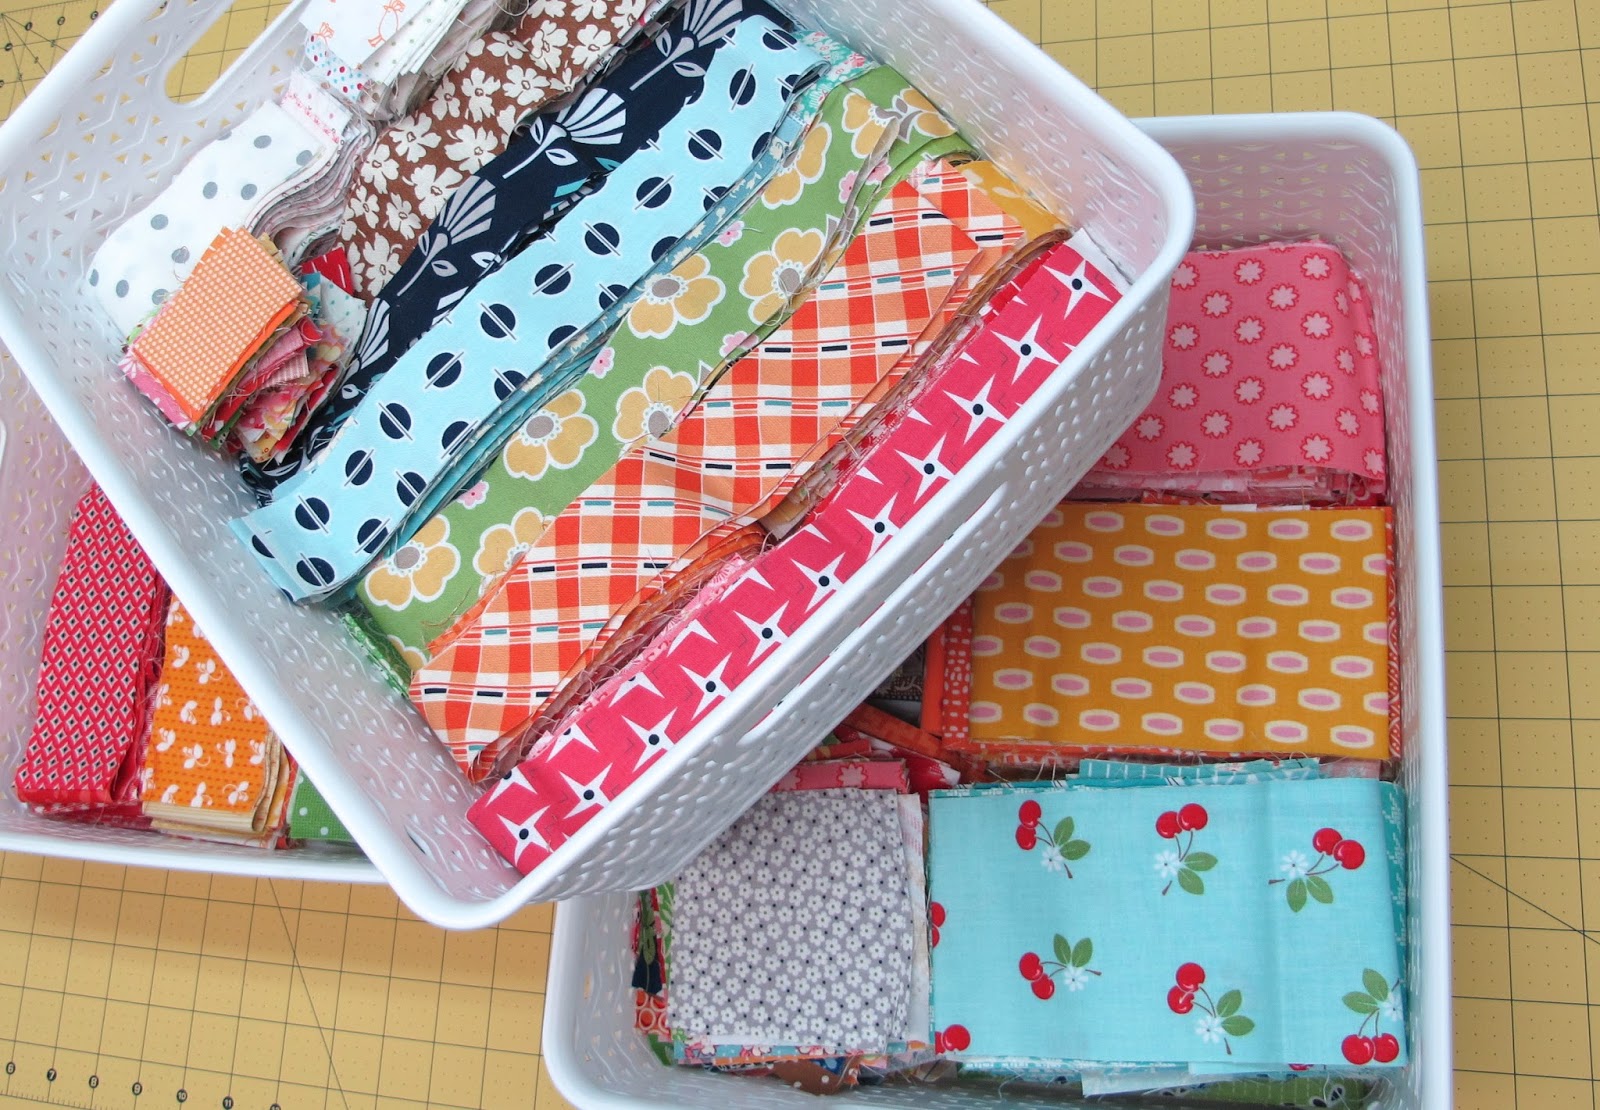
My storage bin has a handled tray at the top of the container, perfect for storing fat quarters and large scraps. I’ve roughly sorted these prints by color.
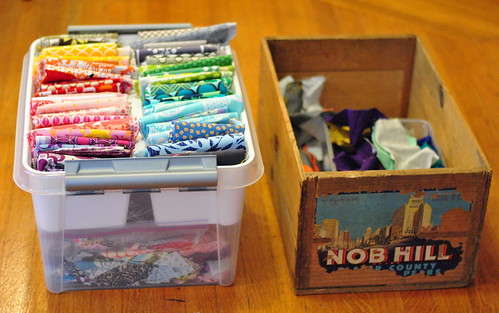
And here is my scrappy storage bin (left) with all of my loose and bagged fabric scraps beneath the white tray! To the right, you can see that my vintage box is a manageable scrap bin. (Inside are my solid scraps and scraps from the same collection.) When I’m sewing and have a few new scraps, I’ll toss them in this bin until it’s time to sort them again!


11 comments
Your bins look a lot like mine…except I didn’t get any sort of tray on top, where did you get them?
Also, like you I used to sort specific sizes (like strips and charms) together, but found they never got used and I was usually seeking out a specific color. So, I’ve reorganized to only sorting by color and I am so much happier!
Funny that there should be a blog hop on sorting scraps as I just wrote a post about it a couple weeks ago!
Interesting post – thanks for sharing what you do, my scraps are sorted by colour but I do like the idea of putting solids together, I’m never sure what solid scraps I have.
I really like that container!
It looks like fun just browsing your bits.
Thanks for being part of the blog hop Lindsay! Loved peeking at your scraps and enjoyed your tips!
Thanks for the great post and ideas. I don’t have many scraps yet but am starting to collect them now that I’ve started quilting. I have a few smaller bins now and know that I need to get organized before they take over. I love the ideas
I have tons of scraps from several types of fabric. Now I’m in the midst of sorting it out and to keep only the cotton fabric. Your tips and ideas are really helpful…thank you for sharing!