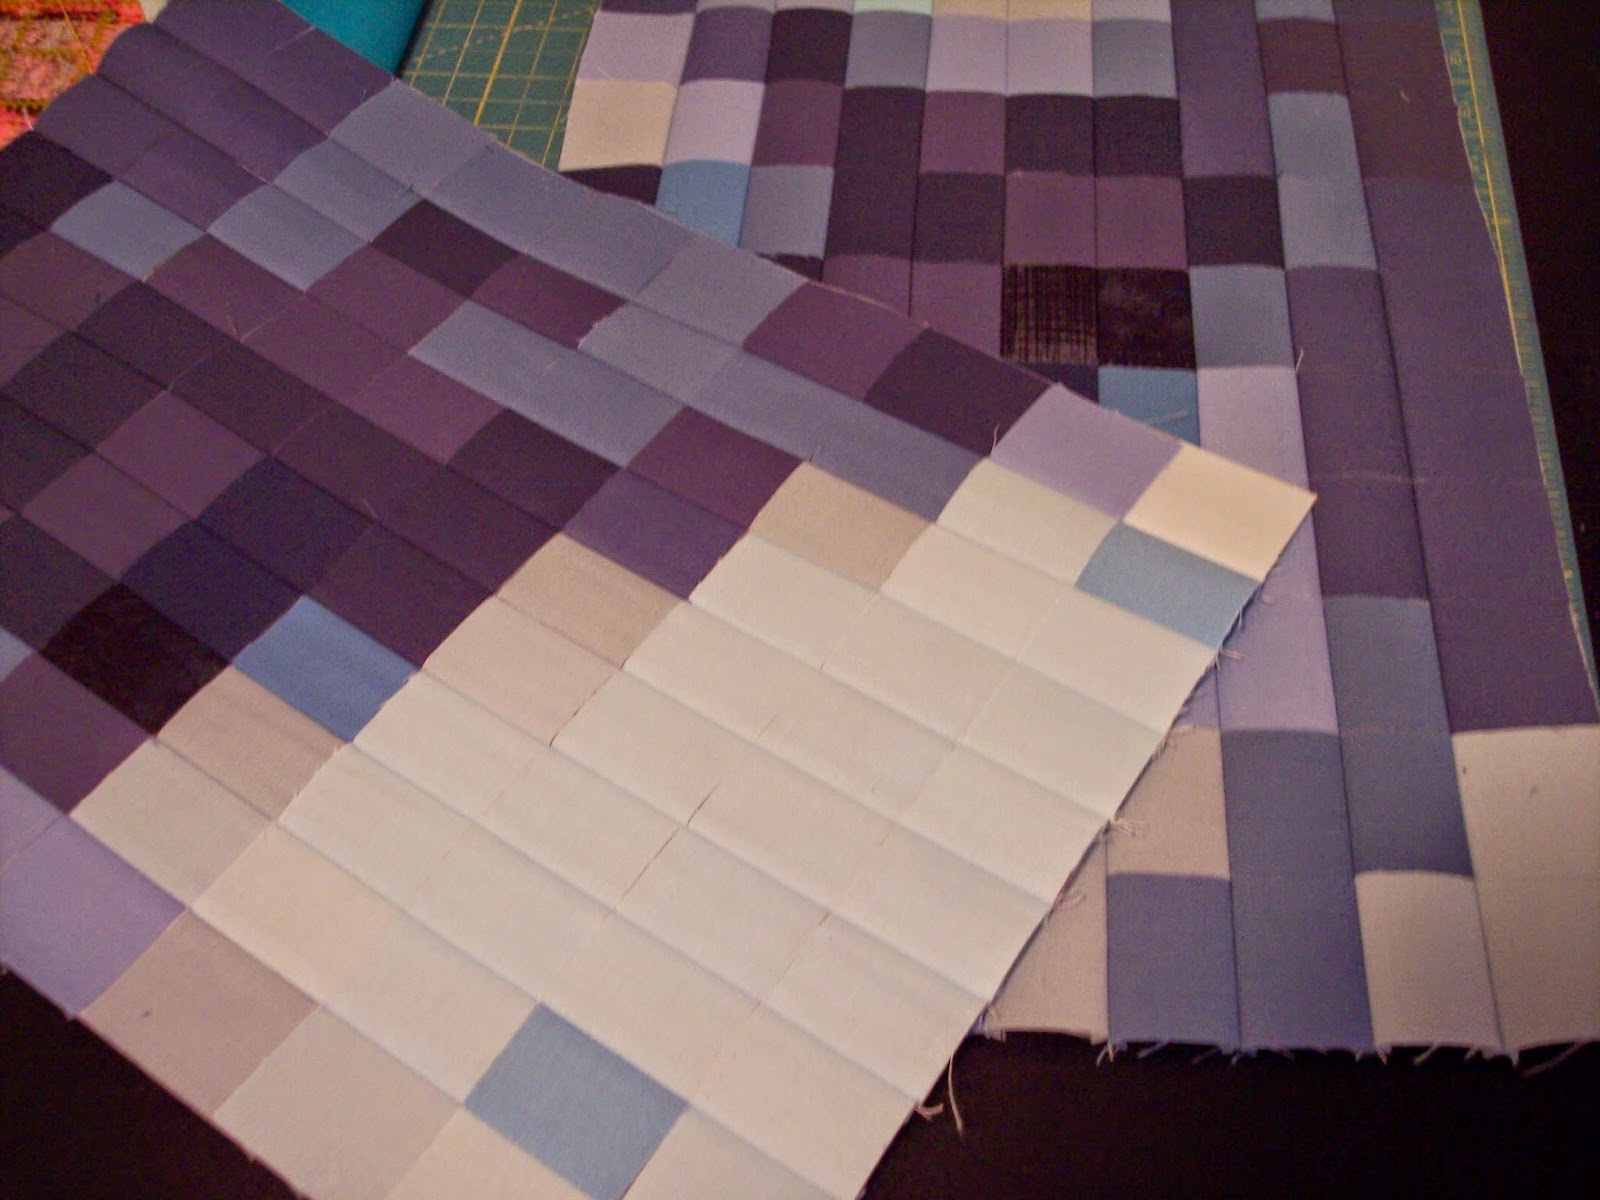

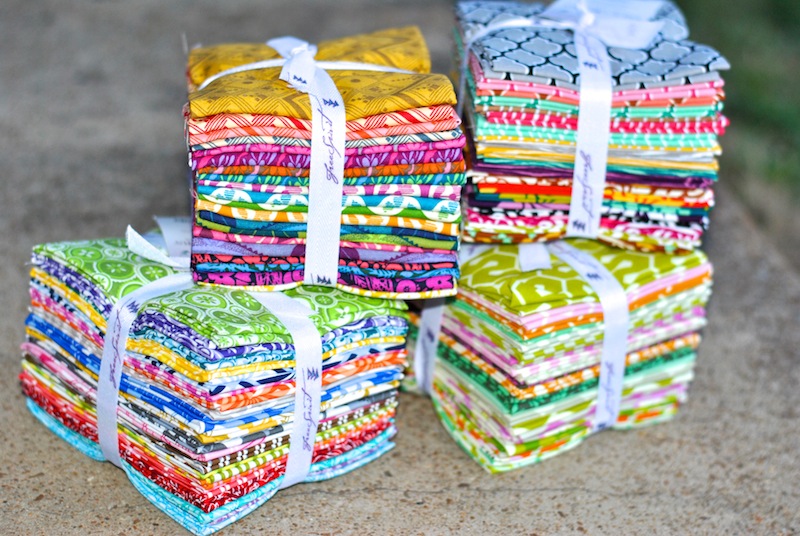
The next step was to figure out how many blocks I needed to make for the bag. I got out my trusty graph paper and worked out the numbers. I decided to use the blue background on the top and the green on the bottom. I made them a little bigger so that I wouldn’t have too small pieces.

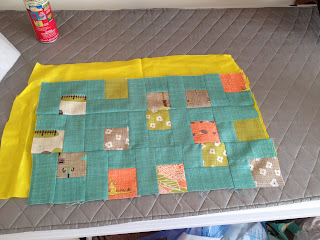
Once I had the blocks made and assembled I decided to quilt the panel pieces. I wanted a little more thickness so I put a layer of leftover batting between the fabric and the Soft & Stable. The Soft & Stable was cut to the appropriate size and the batting and fabric were a little bigger.

I recently got this amazing book by Angela Walters:

so I used this opportunity to try something different on the top- which I loved!

Not perfect but definitely fun to try! I kept the bottom a little simpler.

I was thinking about turning it into diamonds but I really liked this look.
The bag pattern calls for zippered pockets inside but I had some extra strips of the blocks left over so I used these to make normal pockets on the inside and I partitioned them.

As you can also see I used some bright yellow for the lining. I love bright colors inside so that you can see what is lurking in your bag!
I also added feet to the bag. Feet are super easy to do- if you can use brads you can use these! I went with silver and used 8 of them. I always use some extra batting- or in this case Soft & Stable when attaching them to make it a little more secure.

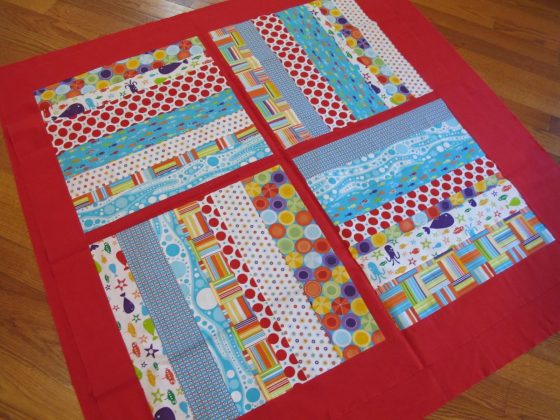
Here’s what it looked like on the outside.


It was super fun trying out a new quilt pattern and a bag pattern! I am super stoked that I got to be apart of this quilt along with Lindsay and wish her the best of luck with her book as well as her new little guy!!
Take care and Sew on!
~Kim from Kim’s Krafts


2 comments
Great bag! I am loving this series to see what everyone else is making with this pattern. I am working on my project too and hope to have it done soon so I can post it. This is a great pattern.
Gotta love a good Aeroplane 🙂