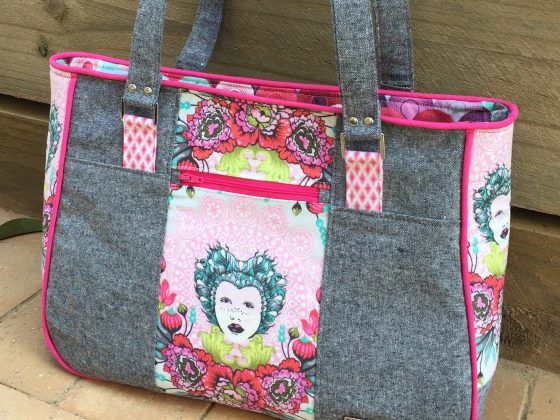
In this article, I want to teach you how to make a simple, easy, and cheap handmade/DIY tote bag without a sewing machine. This can be an excellent gift for anyone of any age. It is a perfect first sewing project if you’re starting, and the customization options are endless. They make a great accessory if you want to add a pop of color or something unique to your look. Lastly, they can be multi-purpose. You can use your tote for school or even work.
Table of Contents
- 1
- 2 What fabric do I need to make a tote bag?
- 3 What do you need to make your tote bag?
- 4 How to make a tote bag step by step and without a sewing machine
- 4.1 Step 1: Cut the fabric
- 4.2 Step 2: Fold and stitch the fabric
- 4.3 Step 3: Pin the bottom and side edges together in both corners.
- 4.4 Step 4: Beggin sewing your tote bag
- 4.5 Step 5: Fold and iron the bag
- 4.6 Step 6: Add the straps to your tote bag
- 4.7 Step 7: Reinforce the straps with an X shape pattern

Before you start, make sure you’re making your tote bag the right size for you! The size of the bag is directly determined by how much stuff you’re willing to carry with it! This will also determine what type of fabric you’ll choose with regards to the weight the bag will have to support.
- Check: Annie’s large selection of Tote bag patterns and tutorials
- Check: Home Sewing Depot Tote bag Patterns and Tutorials
What fabric do I need to make a tote bag?
If you plan on carrying rather heavy things, you should opt for canvas. Reusable cloth canvas would be an appropriate choice as it can be used repeatedly without wearing out too quickly. This sort of material is often used in handbags or duffel bags which are very similar in shape and size to a large market-style bag.
If you wish to opt for a lighter, more fashionable version, you should go for premium cotton, which is the fabric I will be using in the tutorial below.
Make sure you’re making your tote bag the right width and length
Make sure you measure from top to bottom on both sides and make a mark where they meet so you’ll know where your strap will come out from later on. Also, note down if you want any pockets on either side of the bag. When measuring length, take into consideration the length of your arm.
What do you need to make your tote bag?
- Half yard of fabric Premium cotton >> Buy it here on Amazon
- 1 1/2 yards of 1″ polyester webbing >> Buy it here on Amazon
- OLFA 45mm ergonomic rotary cutter
I’m using a custom fabric I designed with My Fabric Designs. I’m using their premium cotton because I plan to carry a folder and notebook in my tote. As mentioned before, for a more robust bag, use canvas. Let’s get on with the tutorial now.
How to make a tote bag step by step and without a sewing machine
Step 1: Cut the fabric
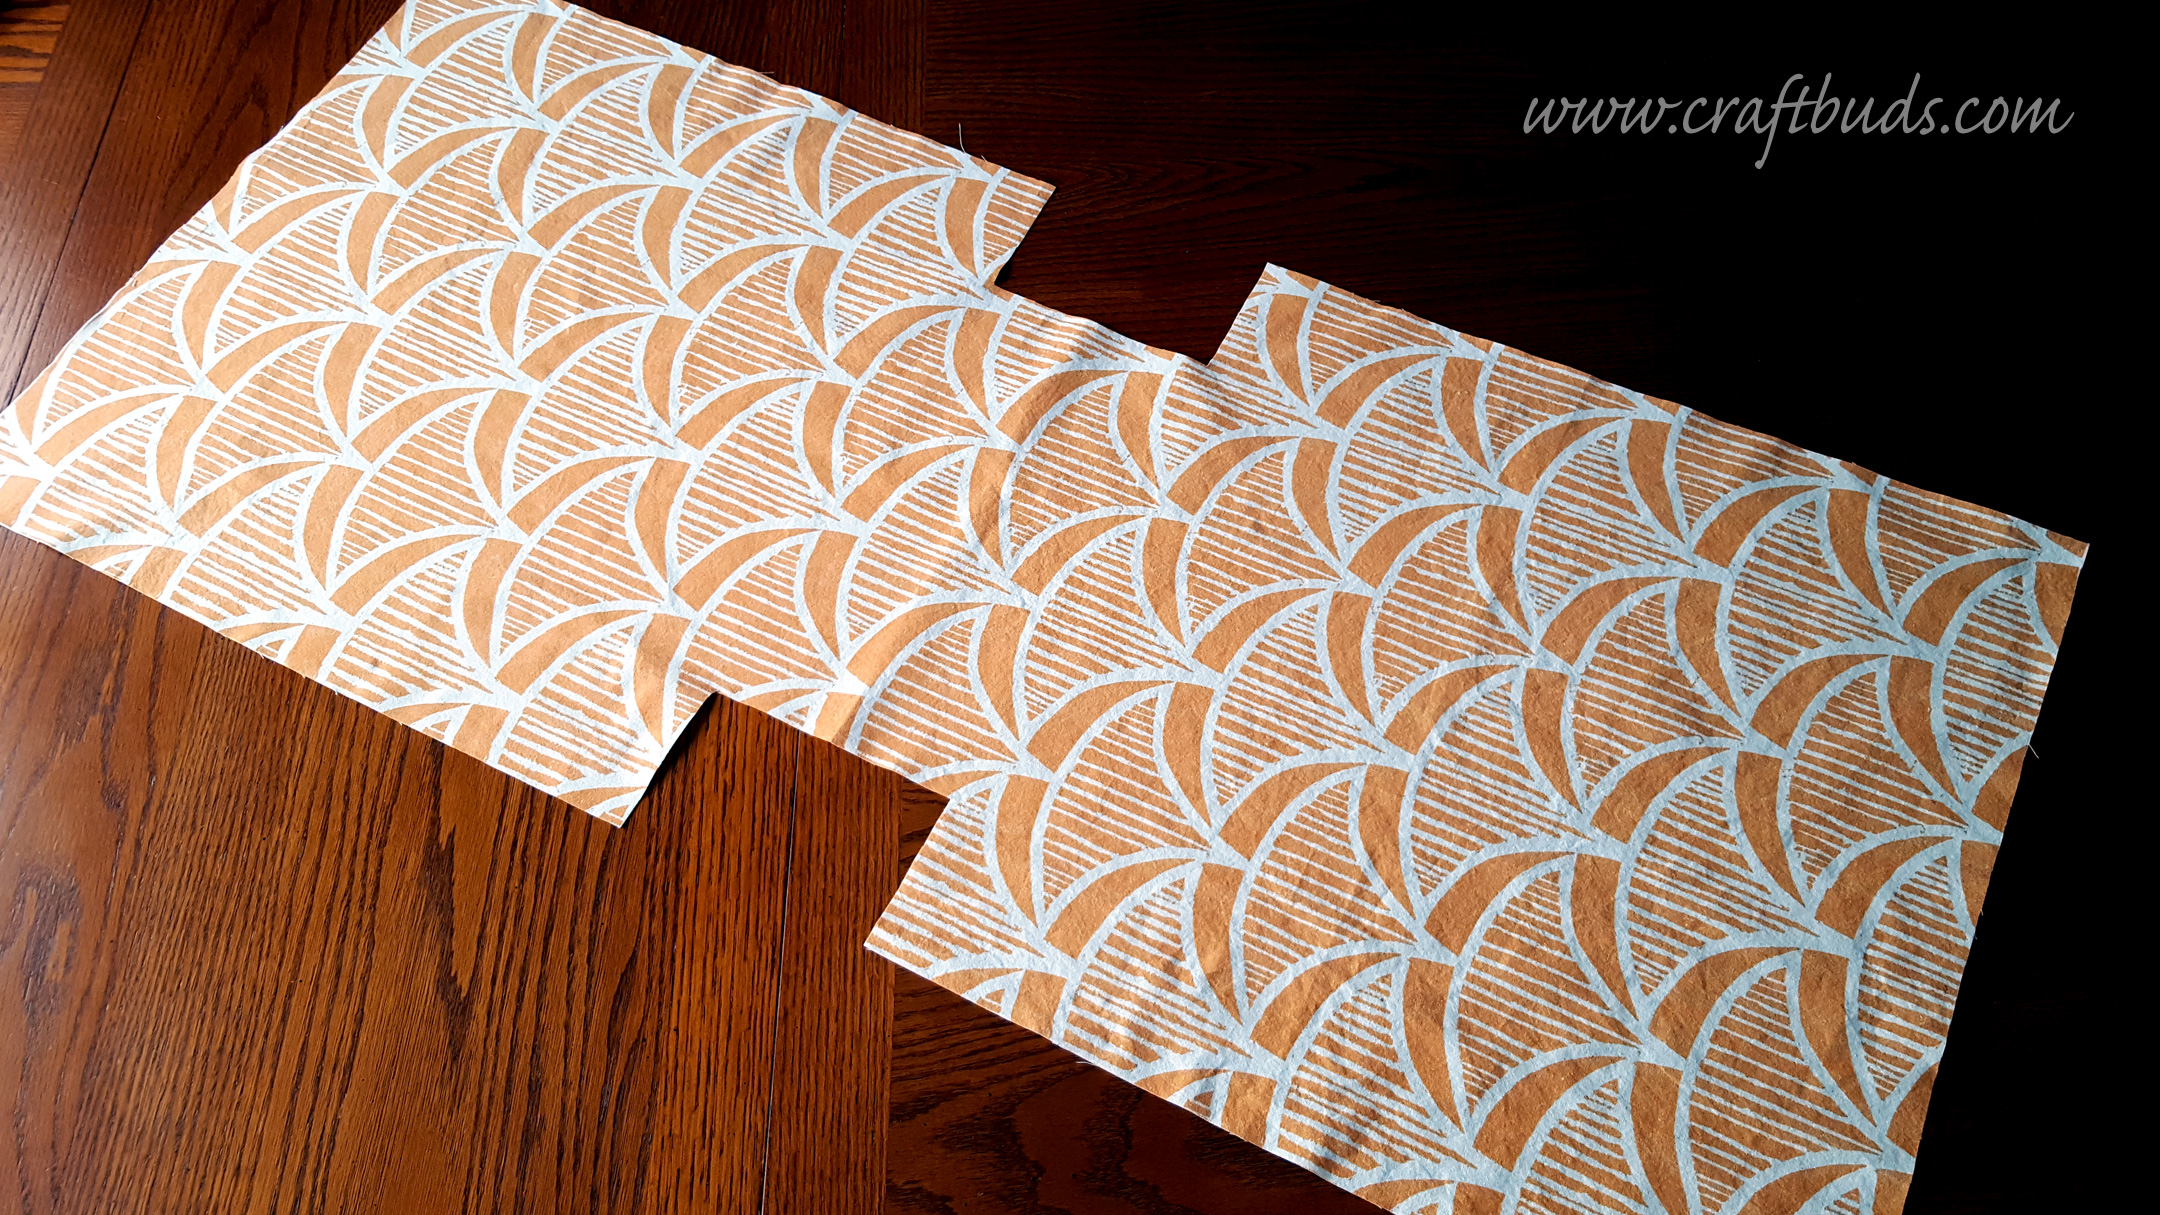
To begin, cut your fabric into an 18″ wide by 42″ long rectangle. Fold it in half lengthwise. Make yourself a paper template 3 1/4″ wide by 2 3/4″ tall (the bright green paper in the photo below). Place the 3 1/4″ side on the bottom corner along the fold. Cut out both corners.
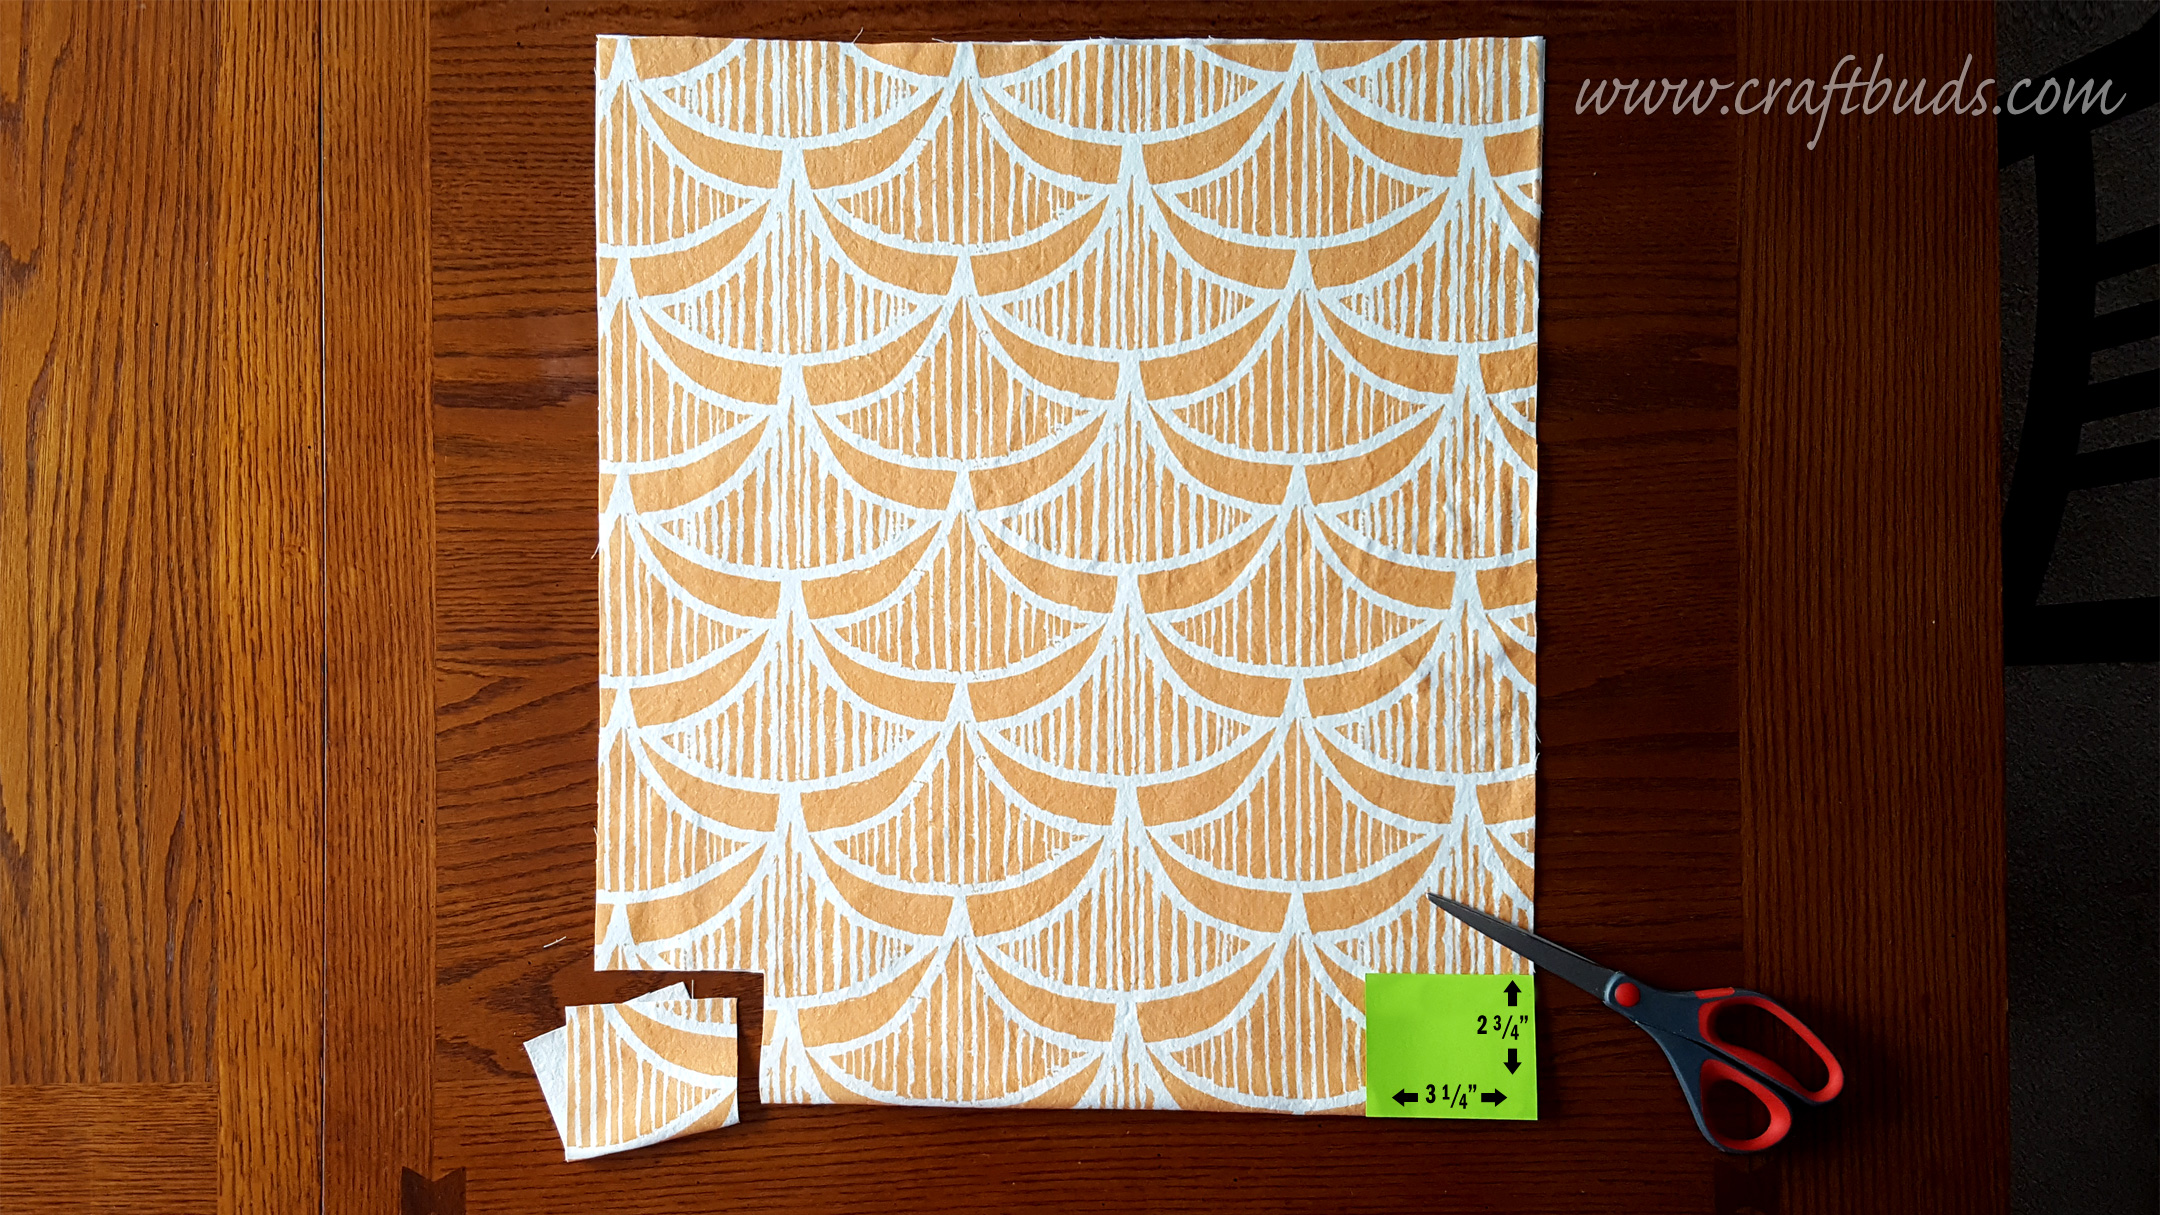
When you open your rectangle, it will look like this.
Step 2: Fold and stitch the fabric
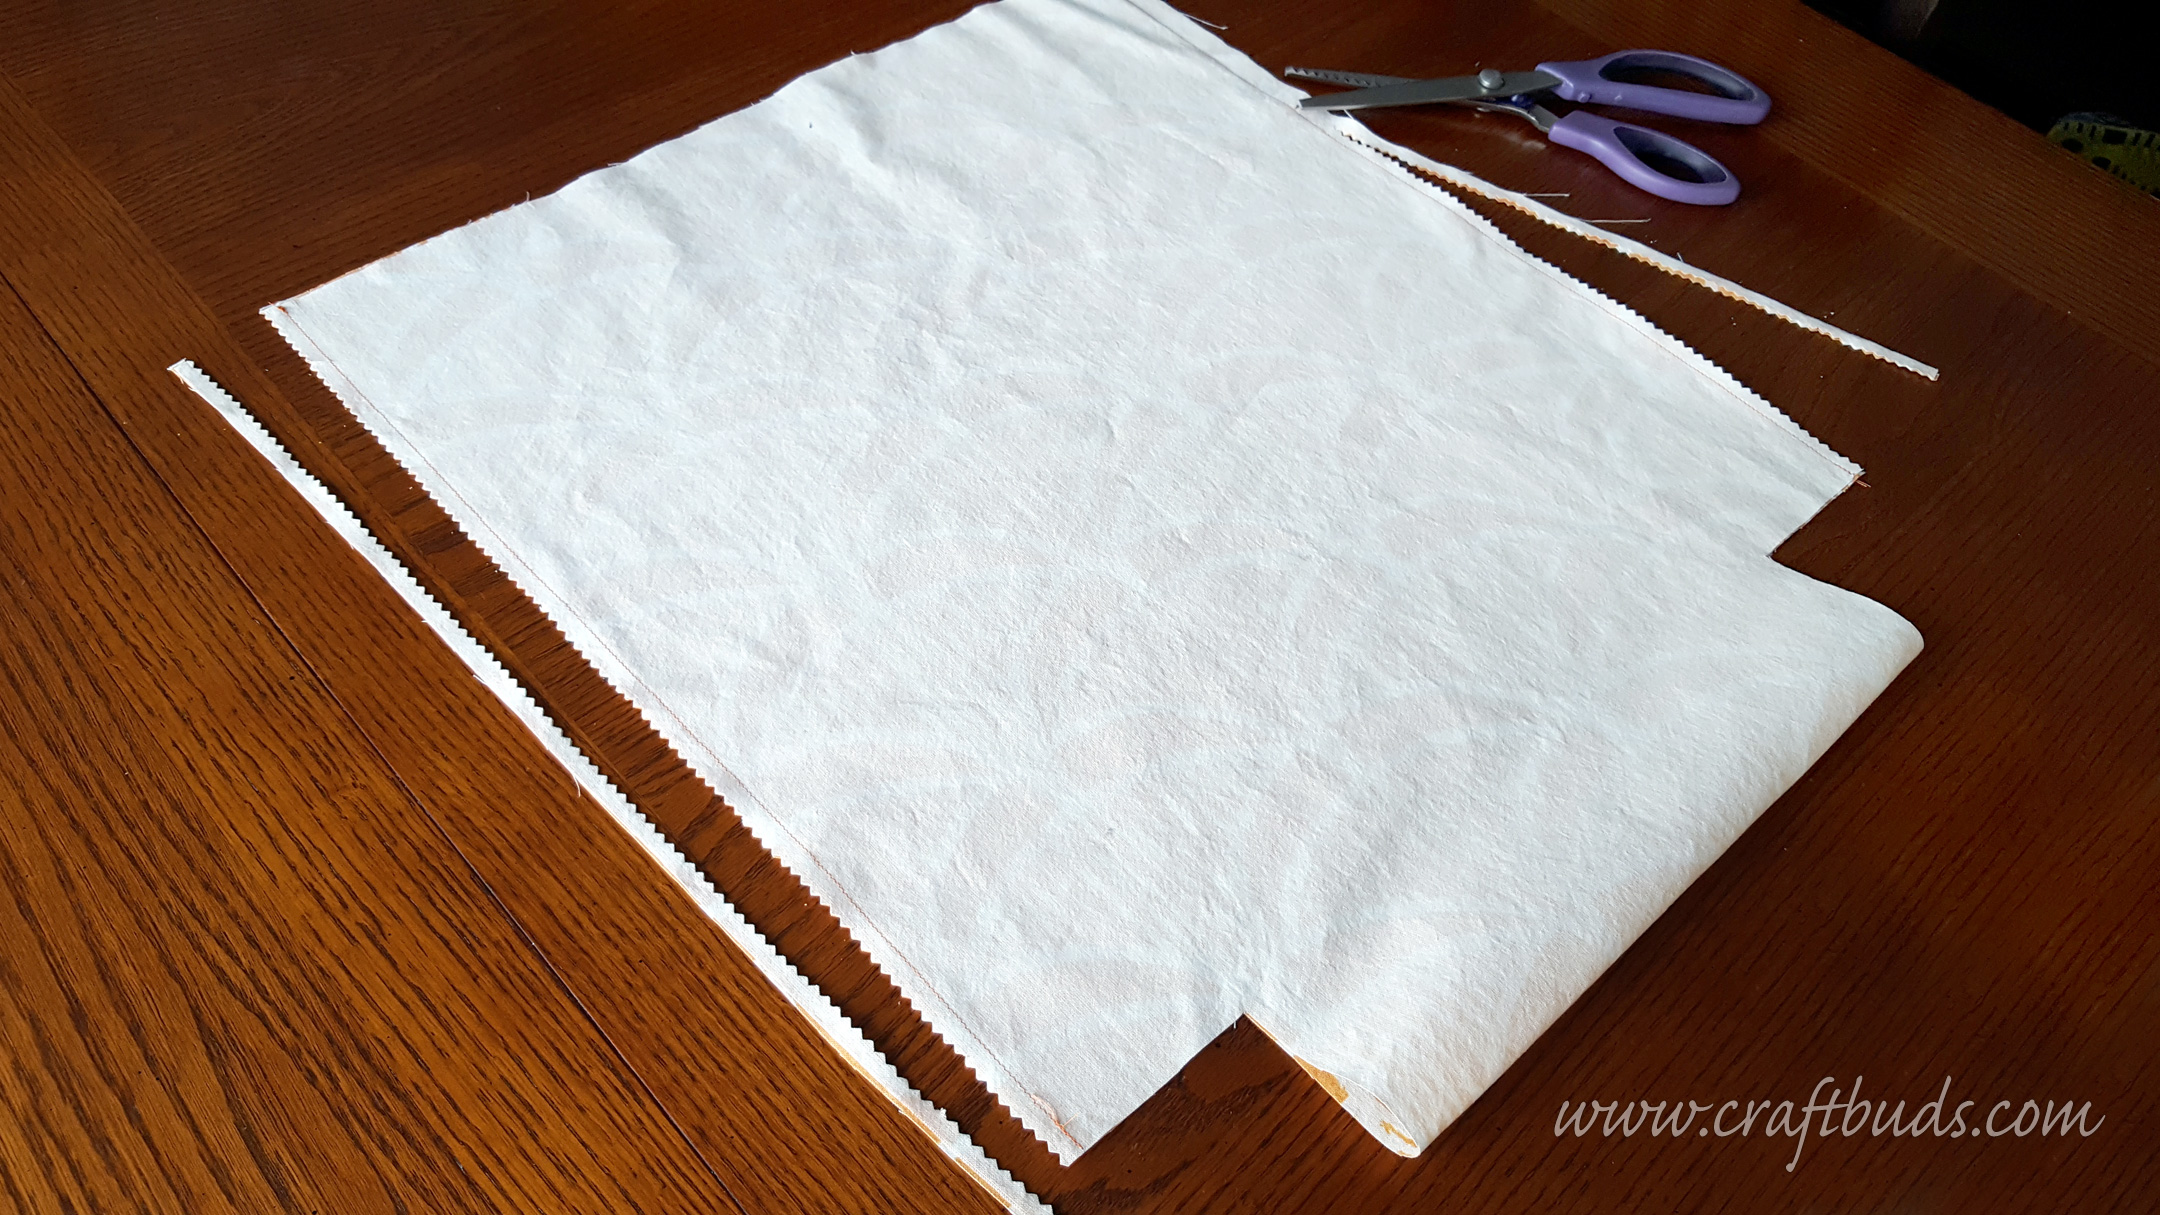
Now fold it in half, right sides together, and sew both side seams with a 1/2″ seam allowance. Finish the edges with pinking shears. (You can also use an overcast stitch, a zigzag stitch near the edge, or use a serger.)
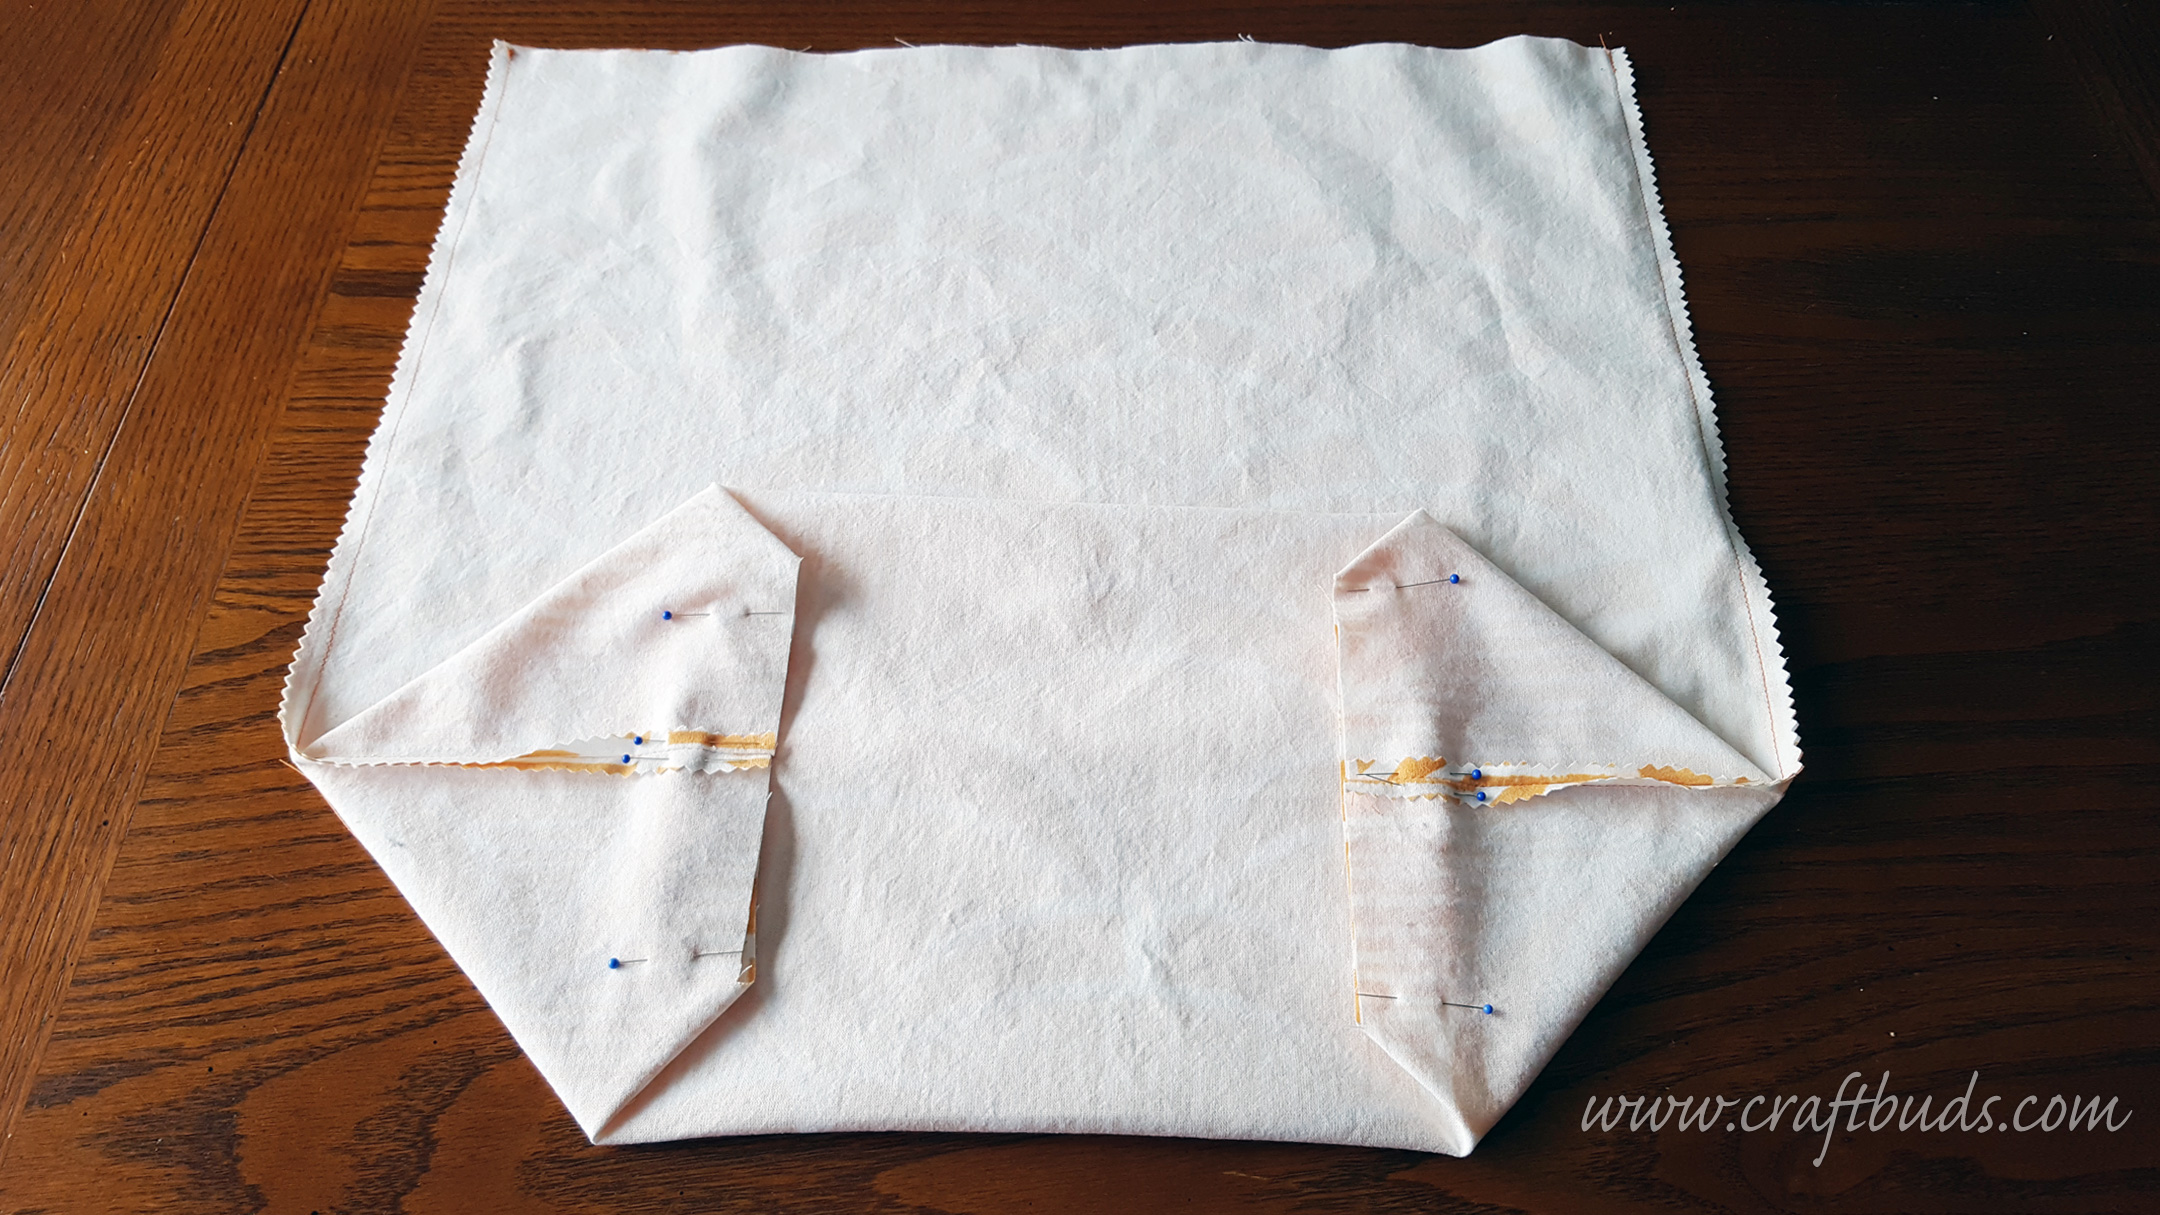
Step 3: Pin the bottom and side edges together in both corners.
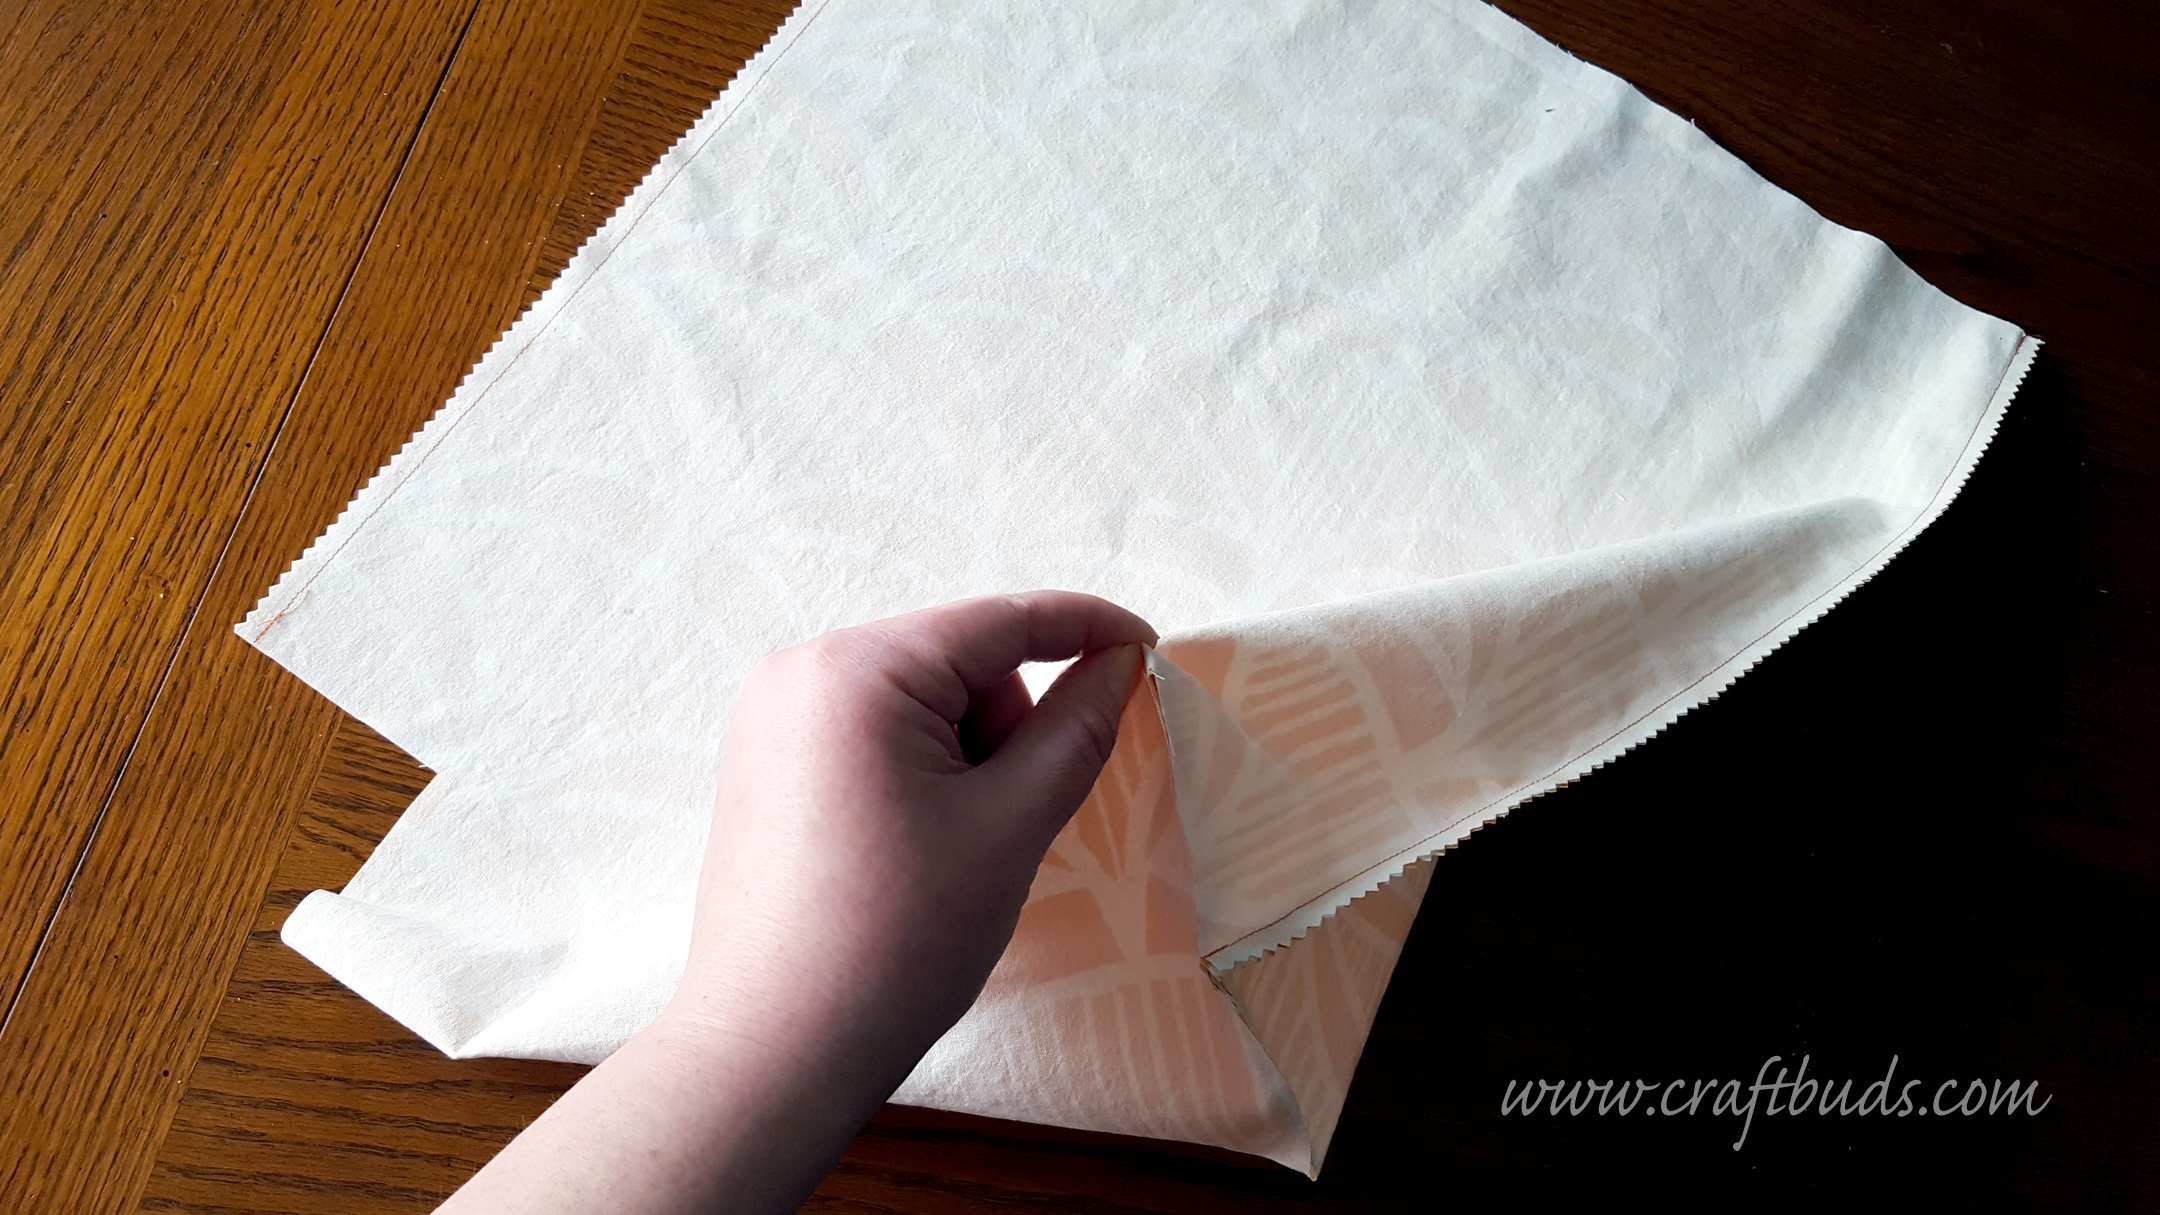
Pin the bottom and side edges together in both corners.
Step 4: Beggin sewing your tote bag
Sew with a 1/2″ seam allowance, then add a second row of stitching right next to the first. Trim away the excess with pinking shears making sure not to cut the side seam.

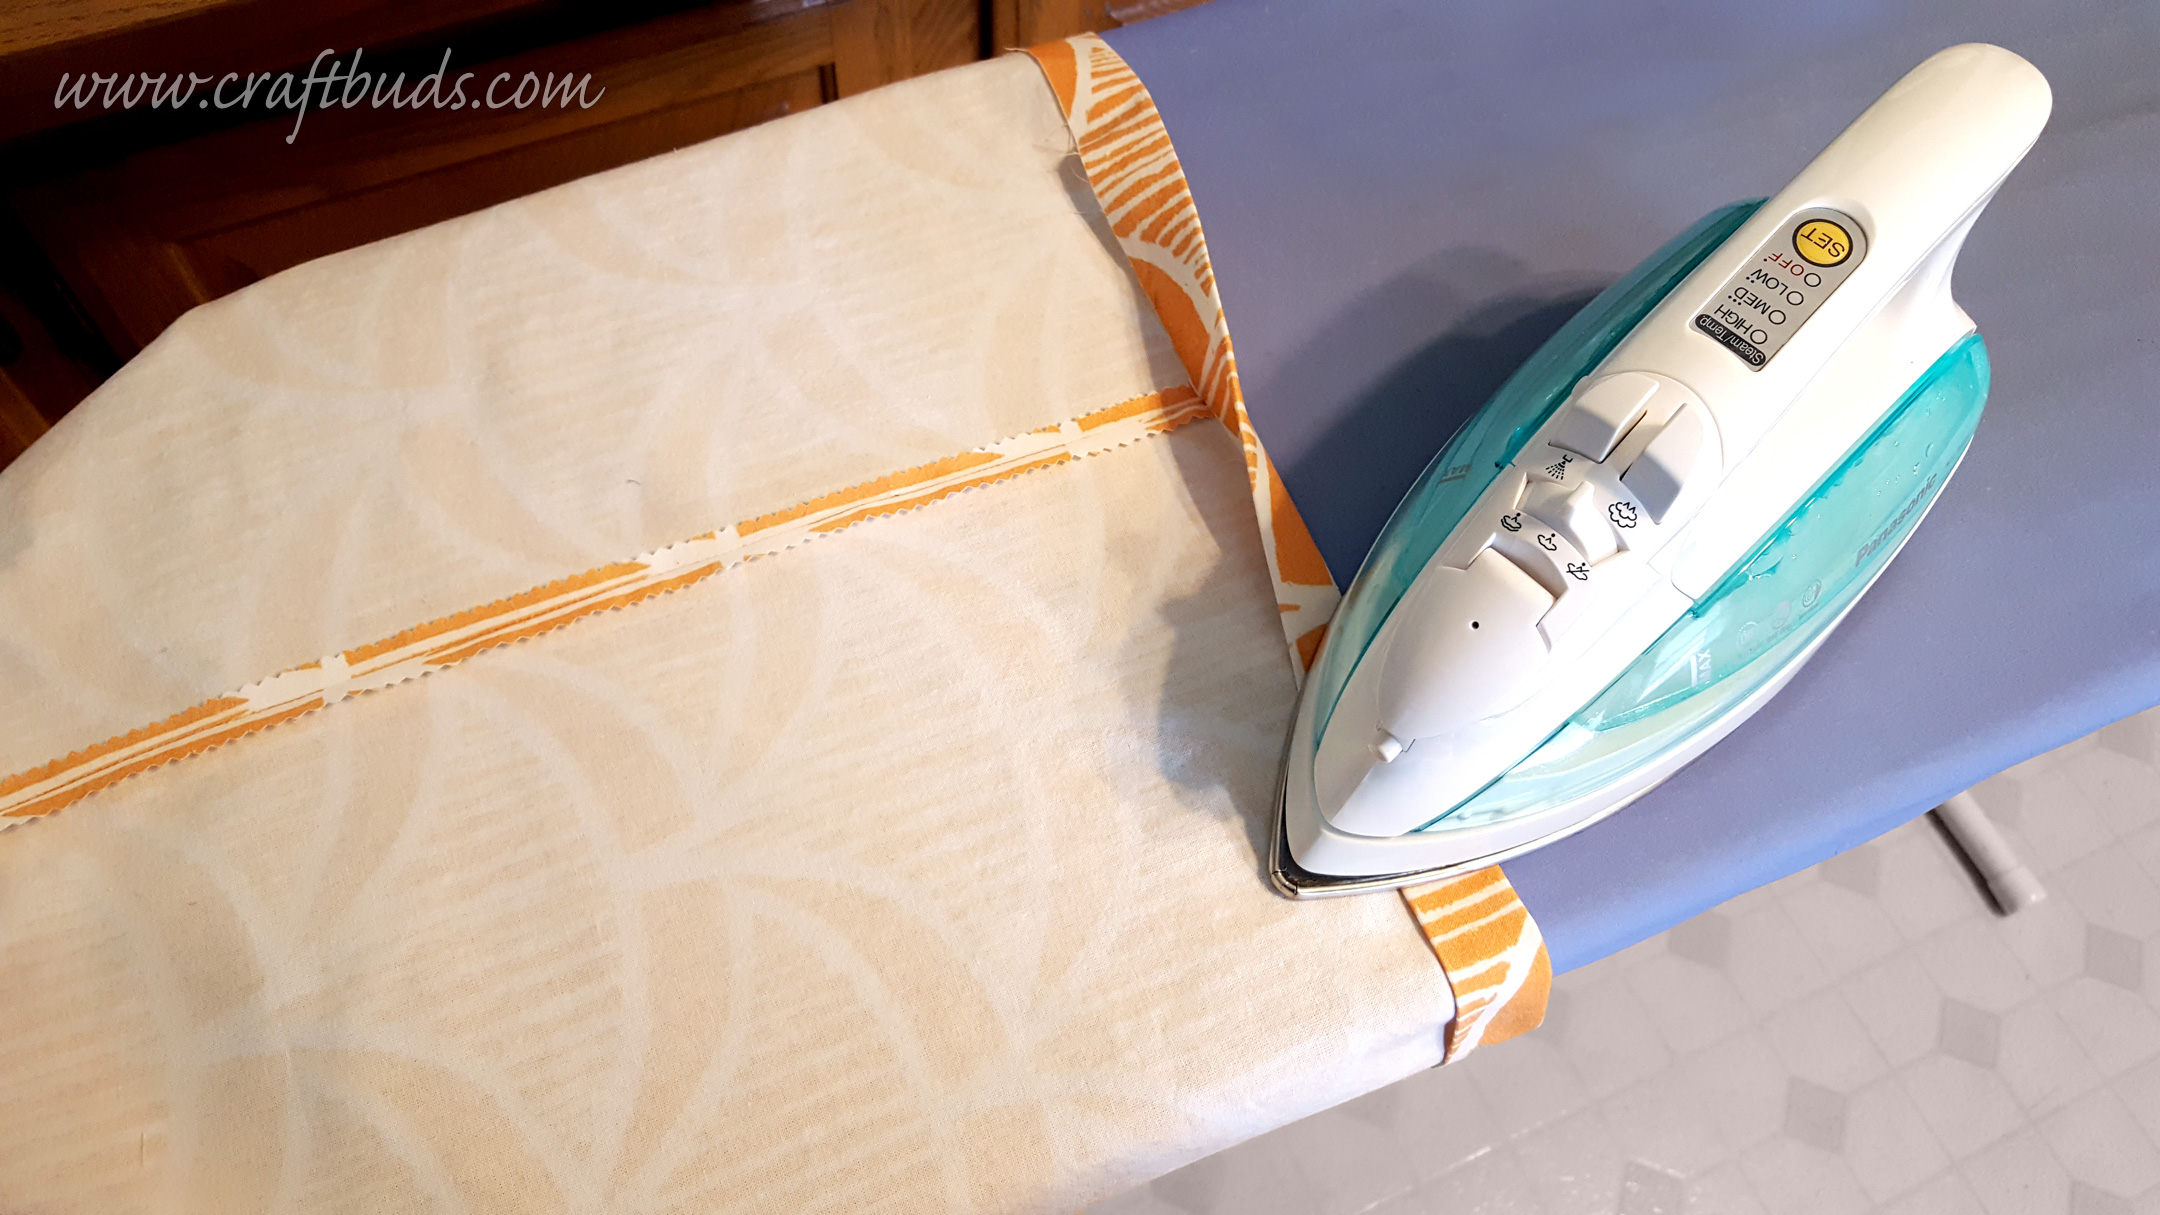
Step 5: Fold and iron the bag
Fold the top of the bag under toward the inside by 1 1/4″ and iron flat. Fold under 1 1/4″ again and iron.
Step 6: Add the straps to your tote bag
Cut the 1 1/2 yards of polyester webbing in half, so you have two 27″ straps. That is for an average person. Make sure to consider the length of your arm for choosing the right strap length.
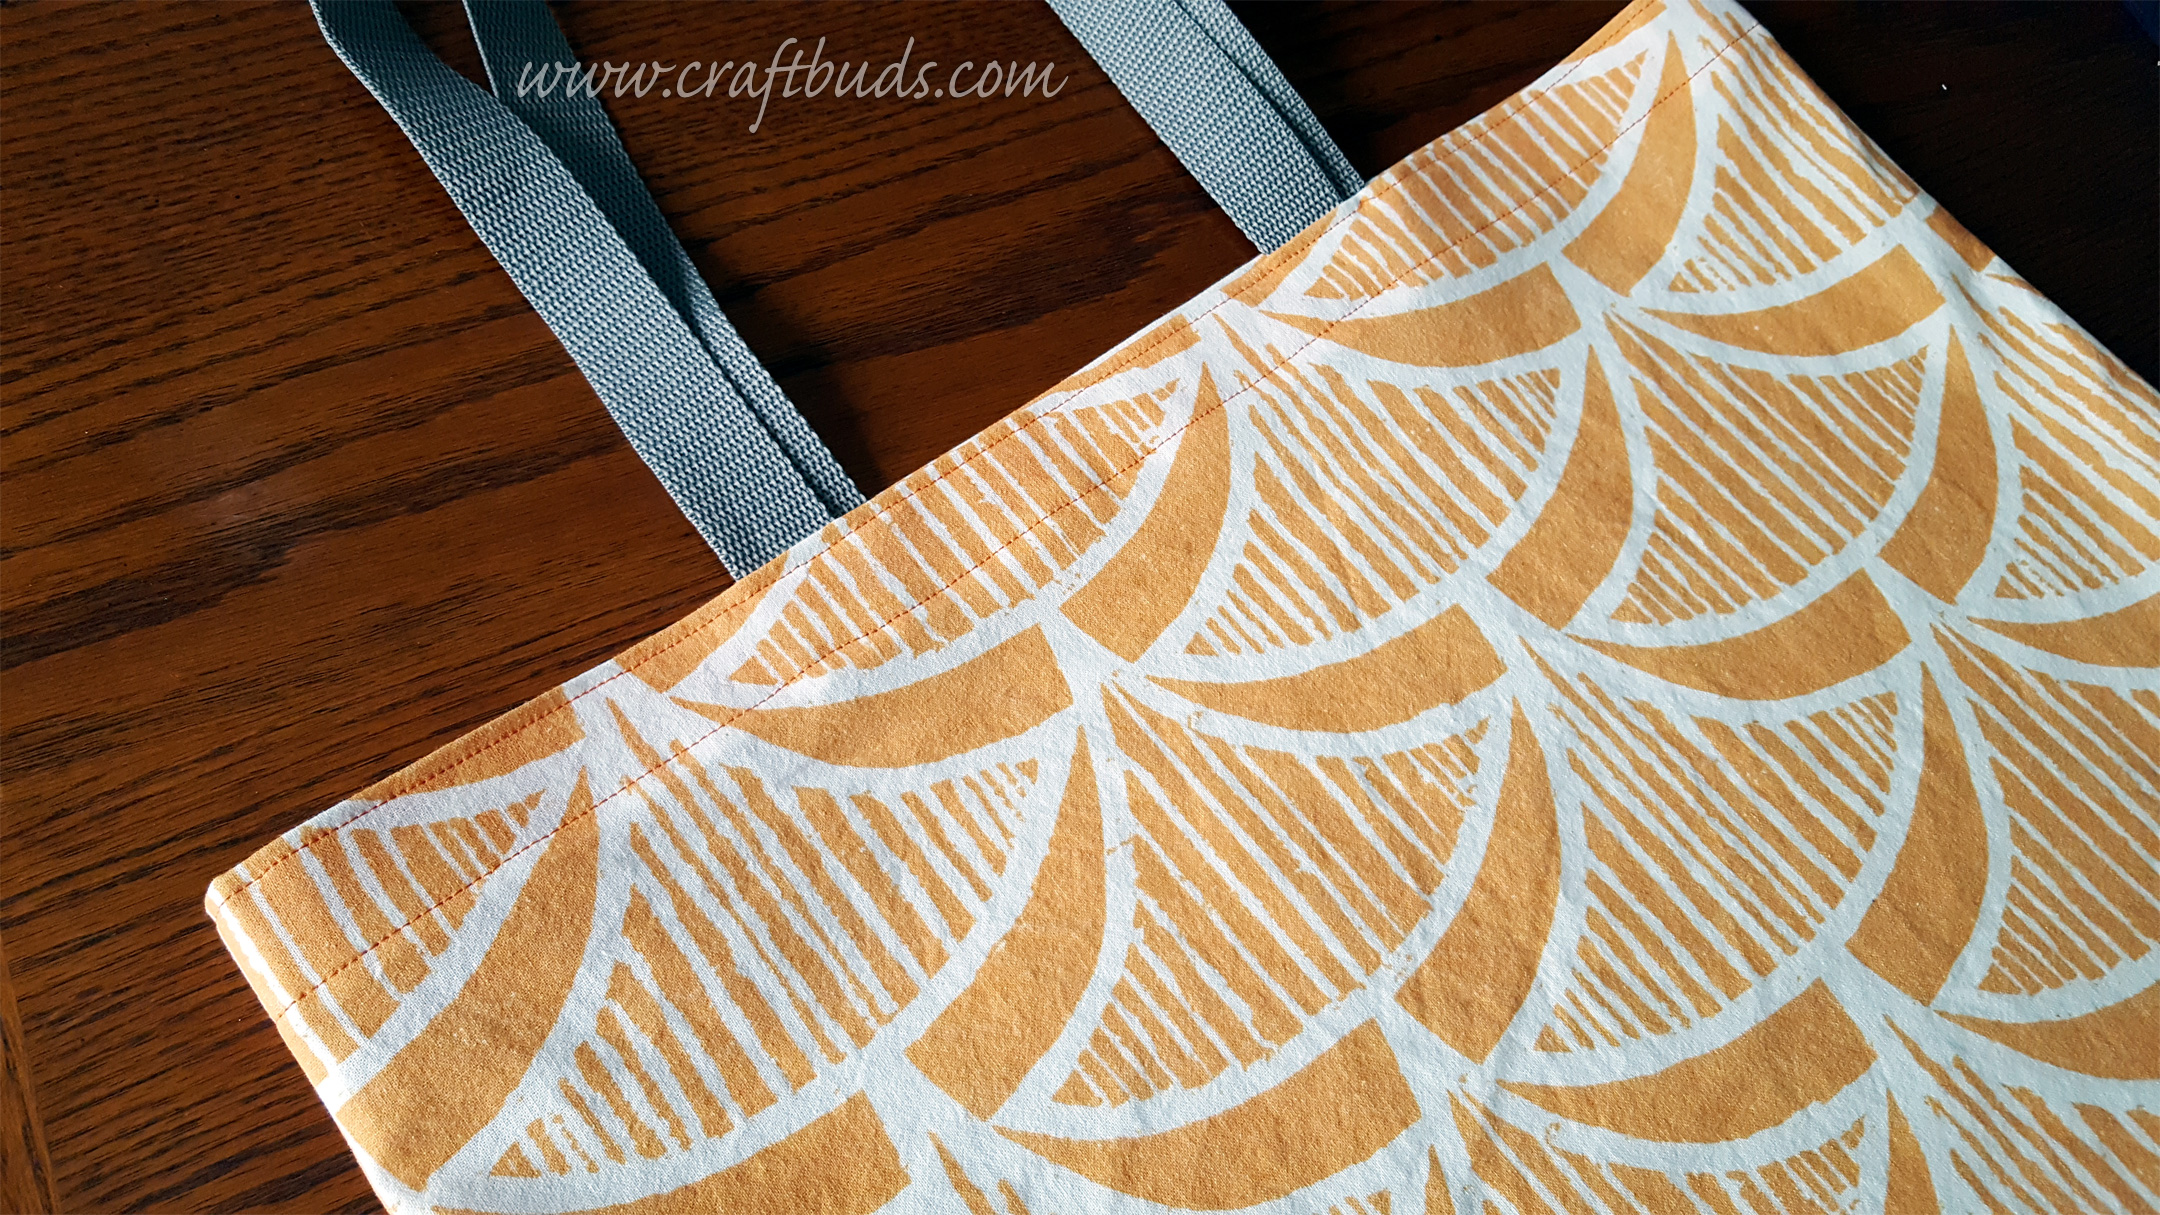
Use a lighter to melt the edges, so they don’t fray. Line up the straps inside the bag 5″ away from each side seam. Line up the bottom of the strap with the bottom of the fold you created in the step above and pin it in place.

Flip the bag right side out. Sew all around the top 1/8″ away from the edge and again 1″ away from the edge.
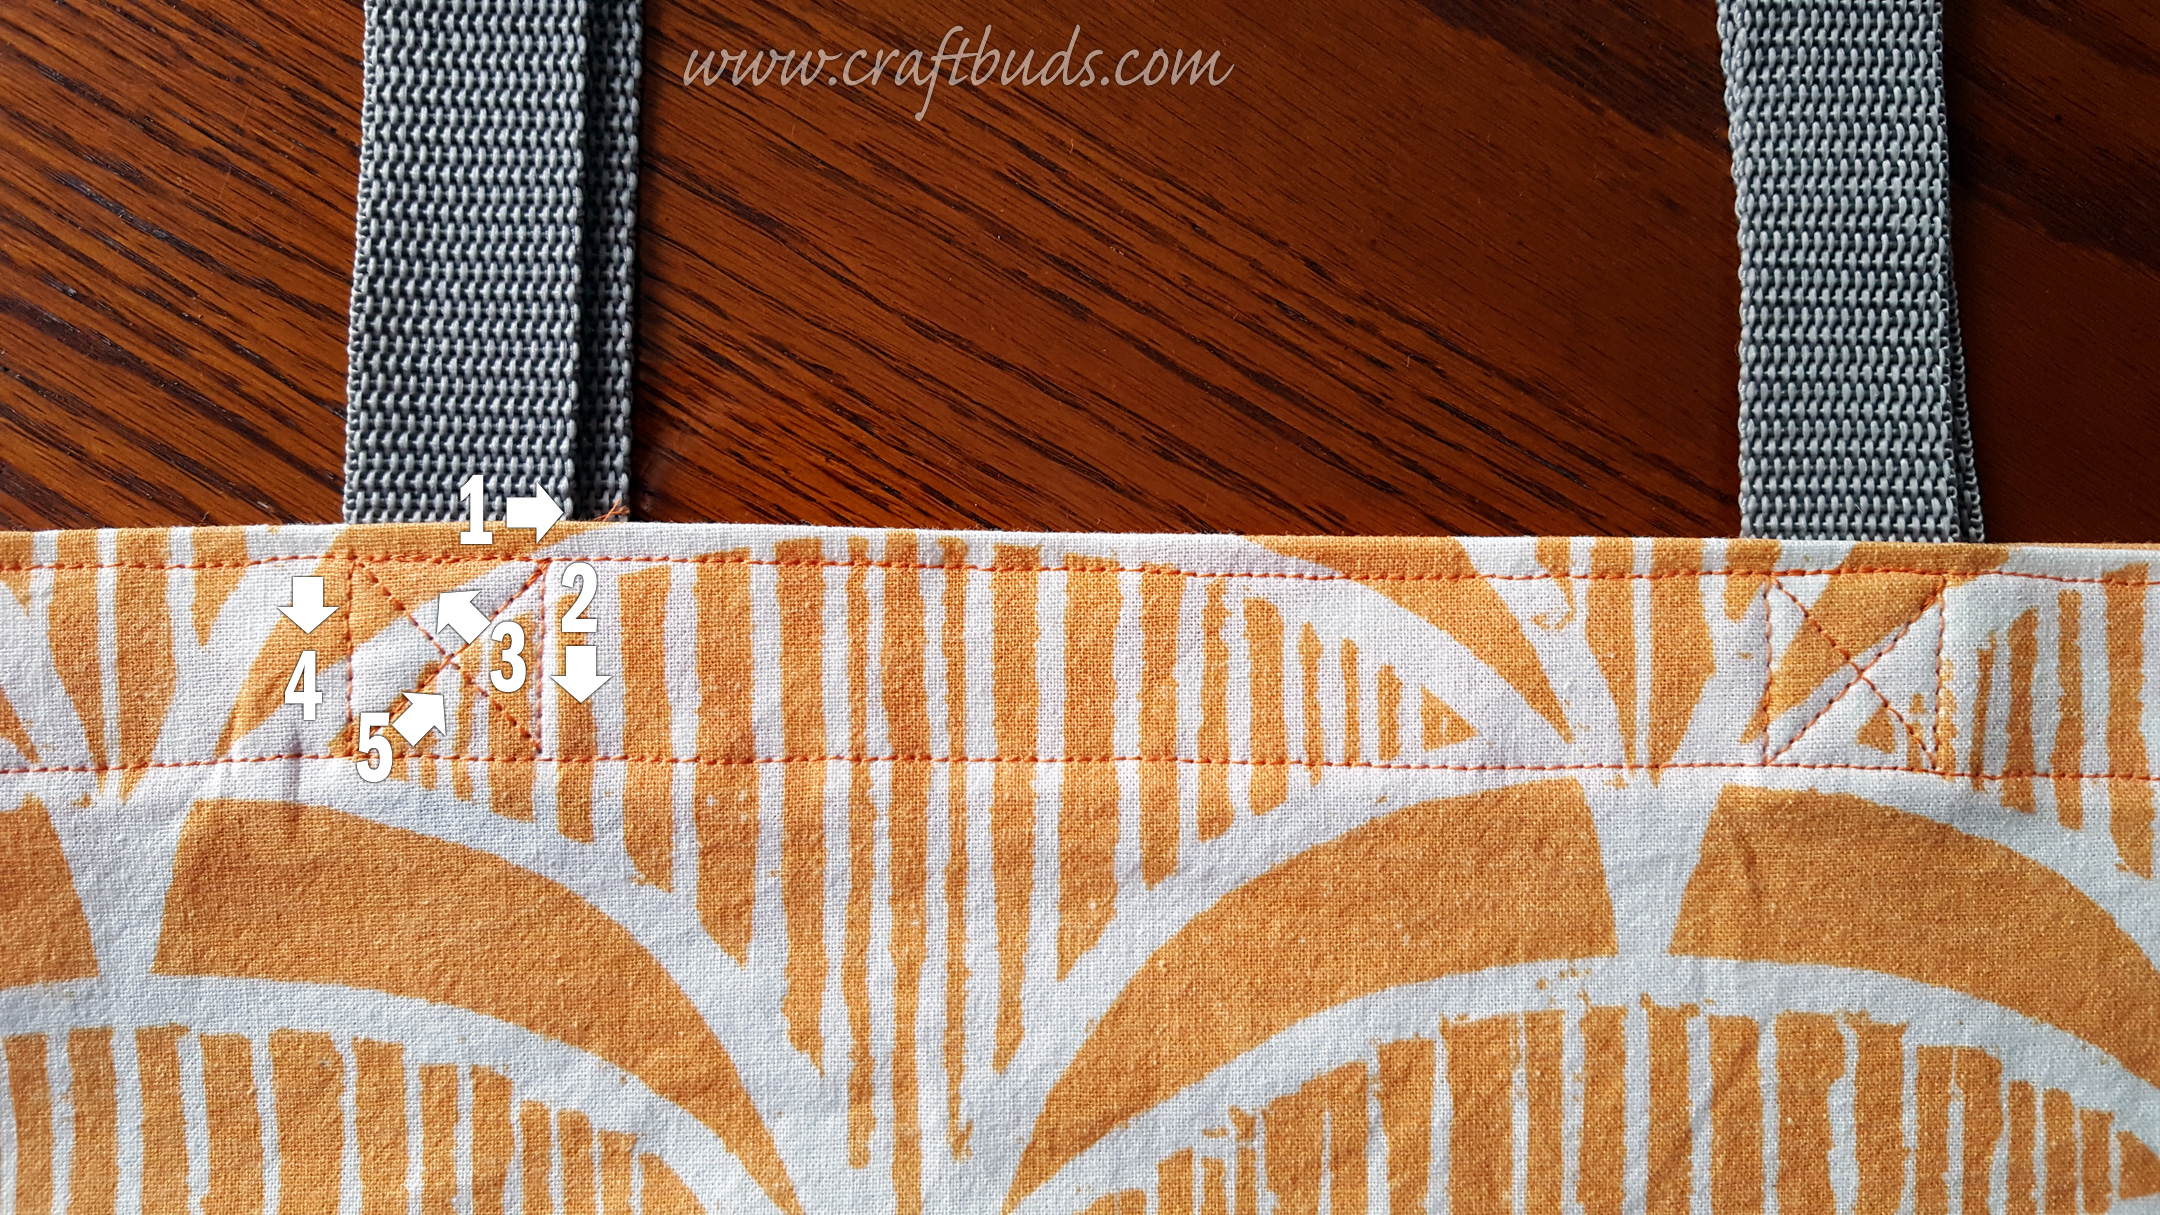
Step 7: Reinforce the straps with an X shape pattern
To make the straps stronger, sew an X around the end of each strap. You can click the photo below to make it larger to see how I sewed the X.
And that’s all! I used this same method to teach a group of women who had various levels of sewing experience at my home, and we were all able to successfully finish a tote in an evening. It makes for a fun and functional beginner project.